
Single Chip Temperature Data Logger
- Rajendra Bhatt
- rajbex@yahoo.com
- 30.704 Views
- moderate
- Tested
- 0 Likes

Introduction
A data logger is a device that records measurements over time. The measurements could be any physical variable like temperature, pressure, voltage, humidity, etc. This project describes how to build a mini logger that records surrounding temperature values. It has following features:
- Uses just one 8?pin chip, so very compact size circuit.
- Temperature range: 0 to +125°C.
- Can store up to 254 measurements.
- Sampling interval options: 1 sec, 1 min, 10 min
- Reset feature to clear all previous measurements.
- Serial transfer of recorded measurements to a PC
- Three tactile switches for user inputs and a LED indicator.
Description
The beauty of this project is that it uses just a single chip for logging. It is PIC12F683, an 8?pin microcontroller from Microchip. PIC12F683 has six general purpose I/O (GP0?GP5, GP3 is input only) pins, and 2K x 14 Flash program memorywith 256 bytes of internal EEPROM.
Temperature will be measured with a DS1820 temperature sensor. DS1820 is a one wire digital temperature sensor from Dallas Semiconductor (now MAXIM). The operating temperature range of the device is -55°C to +125°C with an accuracy of ±0.5°C over the range of -10°C to +85°C. The temperature sensor output is 9?bit Celsius temperature measurement, and so the temperature resolution corresponds to the least significant bit, and which is 0.5°C. But in this project we will use only the most significant eight bits. Therefore, the temperature resolution will be 1°C. The measured temperatures will be recorded into the internal EEPROM memory of PIC12F683.
The first location of the internal EEPROM will store the sampling interval of data logger. Sampling interval defines the time gap between two successive measurements. This project will have 3 options for sampling time: 1 sec, 1 min, and 10 min. These are user selectable. The second location of EEPROM will store the number of measurements recorded so far. And the remaining 254 EEPROM locations will store 8?bit temperatures. So, using 10 min sampling interval, 254 bytes of EEPROM will provide data logging for 42 hours. The recorded measurements can be sent to PC at any time through a serial link at 9600 baud.
Transferring data to PC.
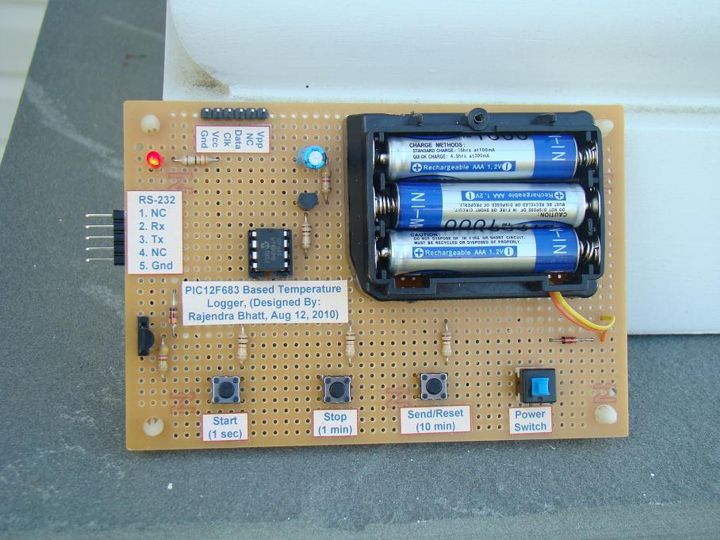
User Inputs
There will be three tact switches for user inputs, namely Start, Stop, and Send/Reset. The three switches will be able to accept the following 4 user requests.
- Start: When ‘Start’ button is pressed, data logging starts.
- Stop: Once the ‘Stop’ button is pressed, data recording will stop.
- Send: Transfer data to PC through serial port.
- Reset: Holding the ‘Send’ button for 2 sec or more clears the internal EEPROM memory.
Sampling Time Selection
The sampling interval can be selected as 1 sec, 1min, or 10 min using the same three switches. Suppose if we need 1 min sampling time, first turn OFF the power, then hold the ‘Stop’ button, turn the power ON, and wait till the LED glows. Once the LED glows, release the button, and the sampling interval will be set to 1 min. The new set sampling time will be updated to EEPROM location 0 so that in case of power failure, the previous sampling time will be restored. Similarly, use ‘Start’ and ‘Send’ buttons for 1 sec, and 10 min sampling intervals respectively.
LED Indicator
Every time the user presses input buttons, LED glows for a moment to indicate that the input is accepted. It also blinks thrice every time EEPROM Write operation takes place. It also blinks at the beginning when the power is turned ‘ON’. It also glows when the EEPROM memory is full.
Circuit Diagram
The complete circuit diagram for this project is shown below.
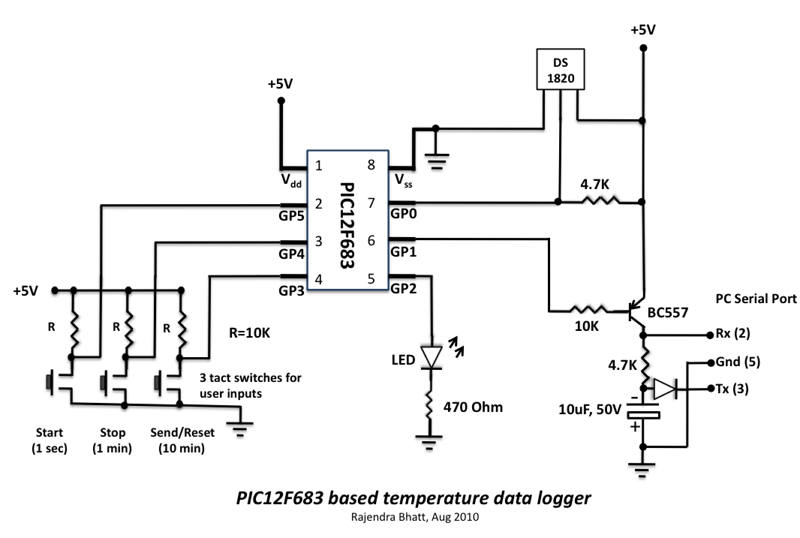
List of Components
- PIC12F683 microcontroller
- DS1820 temperature sensor
- BC557 NPN transistor
- Resistors: 10K (4), 4.7K (2), 470 Ohm (1)
- Capacitor: 10uF, 50V (1)
- LED (1)
- Tact switches (3)
Software
The firmware is written in C and compiled with mikroC compiler from MikroElektronika. I used the free version of it because our HEX output is going to be less than 2K. The download link for mikroC is http://www.mikroe.com/eng/downloads/get/29/mikroc_pro_pic_2010_v380_setup.zip
The 3 user input switches work on interrupt on change mode. That means any time the user presses any button, an interrupt is generated except at times when the microcontroller is reading temperature values from DS1820 (which is
instantaneous) and when it is transferring data to a PC through serial port. The interrupts are disabled at those instants. The data transfer takes place at 9600 baud rate. You can write your own software to receive data on PC side, but I have used the Hyperterminal application for this purpose.
My Hyperterminal settings are bps : 9600, Data Bits: 8, Parity : None, Stop Bits : 1, Flow Control : Hardware
Hyperterminal receiving window
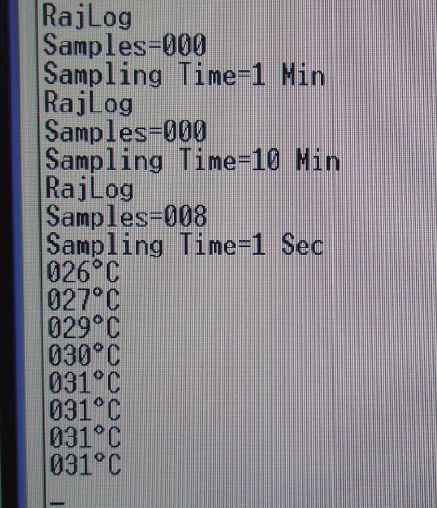
Hyperterminal receiving window.
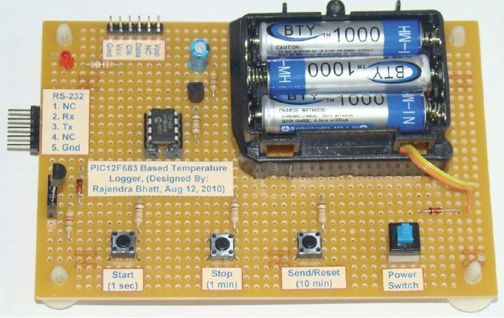
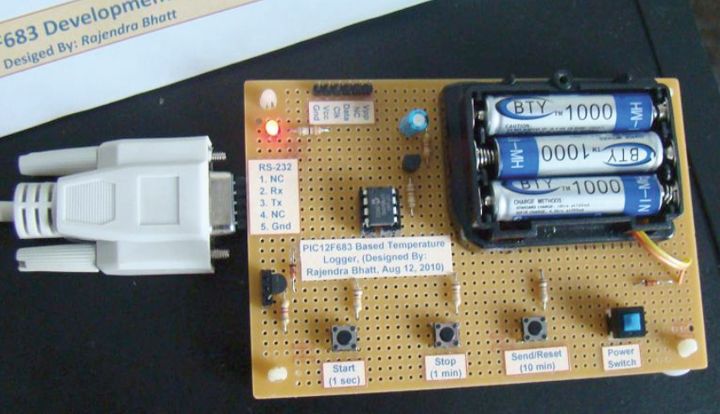
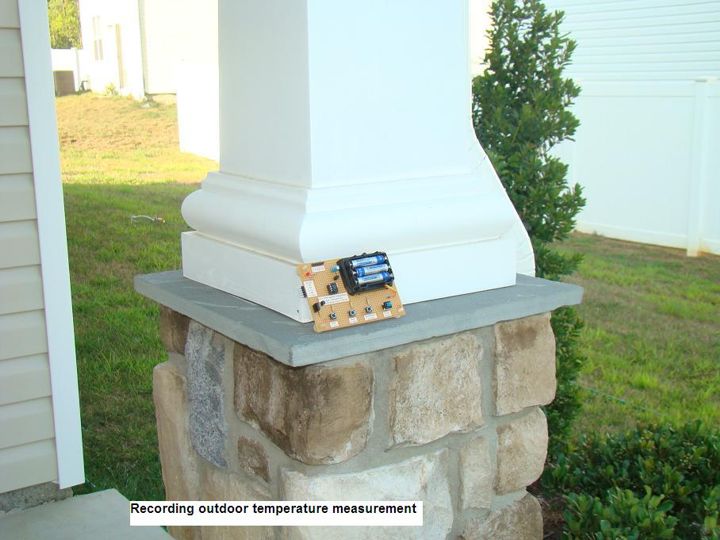
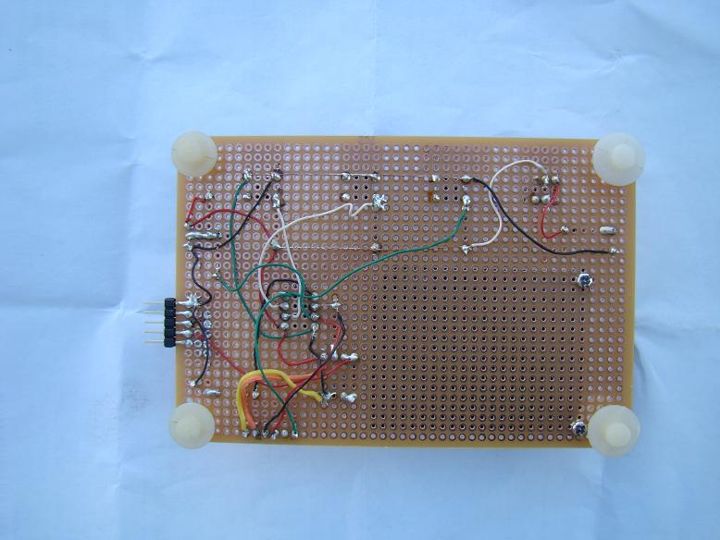
Photos
Please follow and like us:


Subscribe
Login
0 Comments