1.8″ DIY Photo Frame using and Arduino Nano and a ST7735 Color TFT display
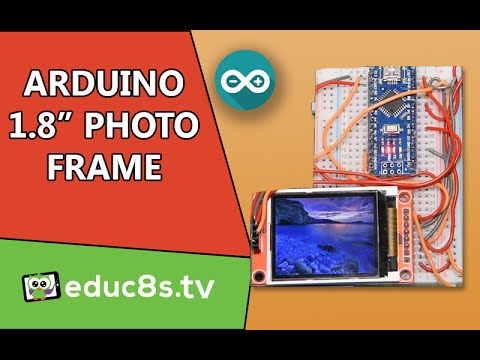
In this video educ8s.tv is going to show us how to use the SD card slot of the popular 1.8″ Color TFT display which uses the ST7735 driver. Then we will save some bitmap images in the SD card and we will display them on the display. In other words, we will build a simple Photo Frame using Arduino!
If you have watched some of my previous videos, you may have noticed that I use this 1.8” color TFT display a lot recently. The reason for that is that this display is very easy to use, it costs less than $5 and it offers color! At the back, the display has an SD card slot, so I thought that we have to learn how to use that as well. As it turned out, it is really easy to use the SD card slot of the display! That makes this display even better.
The project that we are going to build today is this. A simple photo frame which loads images from the SD card. I have placed some .bmp images in the SD card and the project loads them and displays them at the display in full color! As you can see the speed of the project is very high if we take in consideration that the brains of this project is the old and slow Arduino Nano. In my opinion, this is really impressive. But let’s now see how to build this project.
1.8″ DIY Photo Frame using and Arduino Nano and a ST7735 Color TFT display – [Link]


