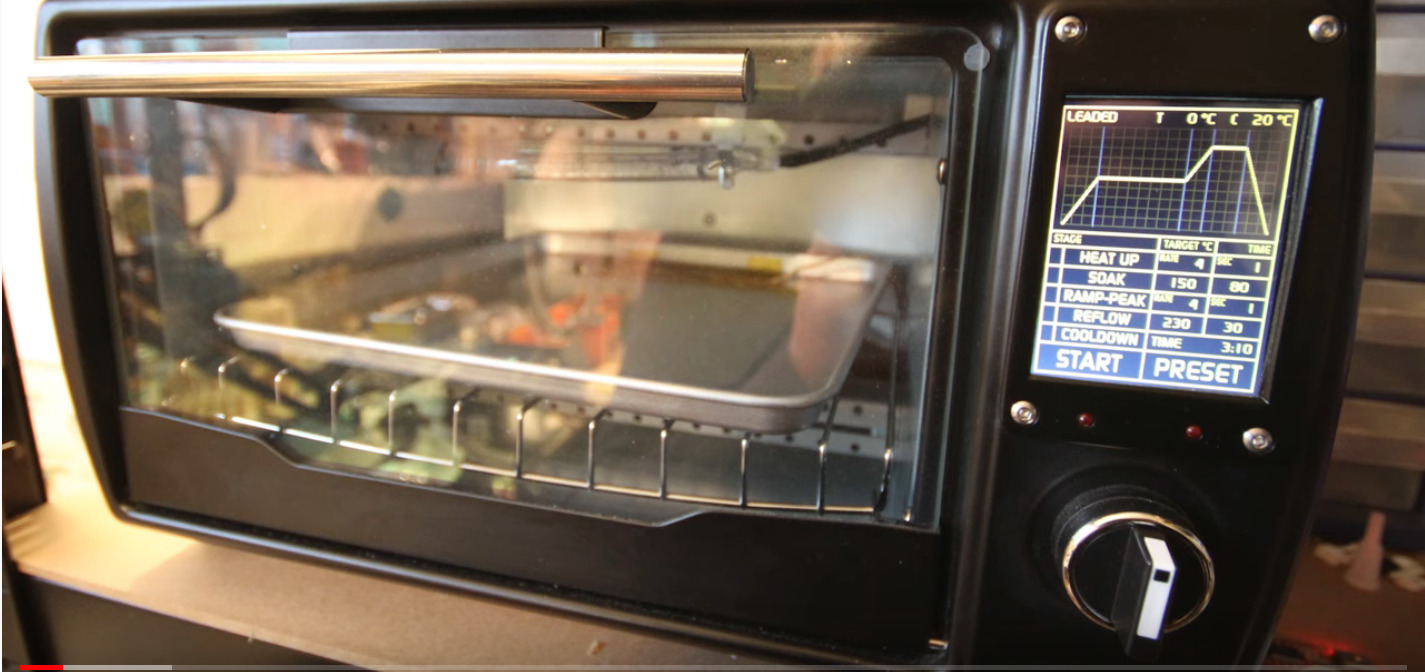
We have seen people make many simple reflow ovens, comprising of an old toaster oven, a Solid State Relay (SSR), a thermocouple, and a microcontroller to get it functioning. Hobbyists and makers have been converting old toaster ovens into PCB reflow machines in other to save money, rather than buying expensive ones. This has moved Mangey_Dog to design a reflow oven, that looks more like an over the shelf toaster that you can buy at any electronic store, with all the components integrated inside the main chassis. He bought the toaster for the project from a German eBay store for around £22, and due to his limited budget, and due to the pandemic that delayed the shipping of the part from china he couldn’t buy all new components. He settled for a used German-made 1000-watt Kleiner pizza oven, which wasn’t totally perfect due to its 1000-watt, but met the specifications he needed for this build, and sort for components locally.
After turning on the oven, he found out unfortunately that the oven’s heating elements weren’t what he wanted. They were slow at heating up to temperature, only rising at one degree per second. To increase the heat, he wrapped the heating chamber with ceramic insulation, which was supposed to be installed in the original oven, but likely left off so as to cut costs. He also equipped the oven with a halogen heating element, which he says increased the oven up to 6-degrees per second.
As he progressed with the build, Mangey_Dog integrated an Arduino Pro Mini and touchscreen interface from Nextion displays, although he is not a fan of their product due to the low quality of parts he bought from them over time, however, the display part he got from them for the project offered some nice graphics to control the oven, then a thermocouple to sense the accurate temperature readings, and a dimmer module rated at 4000W to maintain the heating components, instead of a solid-state relay. The Arduino and the dimmer work together to enable efficient circuit control overheating temperatures around the chamber. The Arduino and dimmer control kept the current in the house steady without any bulb flickering when it was turned on to full power.
He programmed the oven, to have two lead functions and three additional profiles that you can tweak to your taste, and save it to be loaded whenever you turn on the oven. He powered the Arduino through an off the shelf adapter. In summary, it was a good build, however, when engaging in such build, all safety has to be observed. Mangey_Dog talks about his experience while building the oven. He says:
“As I mention in my video, I made a little mistake that triggered the RCD for the circuit I was on in the house. It was stupid as I was taking logic level digital knowledge and tried to use that on a mains connected circuit. It was an educated guess, and I was WRONG! I really should have seeked (sic) advice first before trying to filter a live mains connected electronics.”
The only problem he has with the build is the halogen heating element he incorporated, because of it emitting some infrared rays however, he plans to swap it out in the future with some traditional heating system. For more information about the oven build, visit Mangey_Dog’s YouTube channel.


