When you consider the cost, time, and other resources that go into PCB Design and Manufacturing, you will agree that it makes perfect sense to leave no stone unturned in ensuring quality because failure at any point could cost product owners a lot of reputation, money and time, which most companies don’t have, thanks to the strain that comes with manufacturing hardware.
While this ultimately starts from the design process, the final buck usually rests on the PCB manufacturer who takes extra effort to conduct a number of tests and processes that help to implement PCB quality control, one of which is PCB inspection.
PCB inspection is usually done to detect likely defects like foreign matter, copper explosion, scratch, insufficient plating, incorrect silkscreen, uneven solder paste and pads, residual copper, and imaging. Most PCB manufacturers use the traditional naked eye inspection method to achieve this, while some others make use of some visual inspection devices like a magnifying glass, and AOI (Automated Optical Instrument), a solder paste inspection equipment, or an optical video display system that combines both the naked-eye inspection and the AOI methods, just to mention a few.
Some of these methods actually merit more than the others, but when it comes to PCB quality control inspection, the choice of the method depends on the particular inspection test to be carried out.
Automated X-ray inspection
Since many PCBs today now use technologies such as BGA, BGA ICs (integrated circuits), and CSPs (chip-scale packages) where the solder connections are not visible by visual inspection, like naked eye or ordinary optical systems, it is now necessary to carry out checks using X-ray technology.
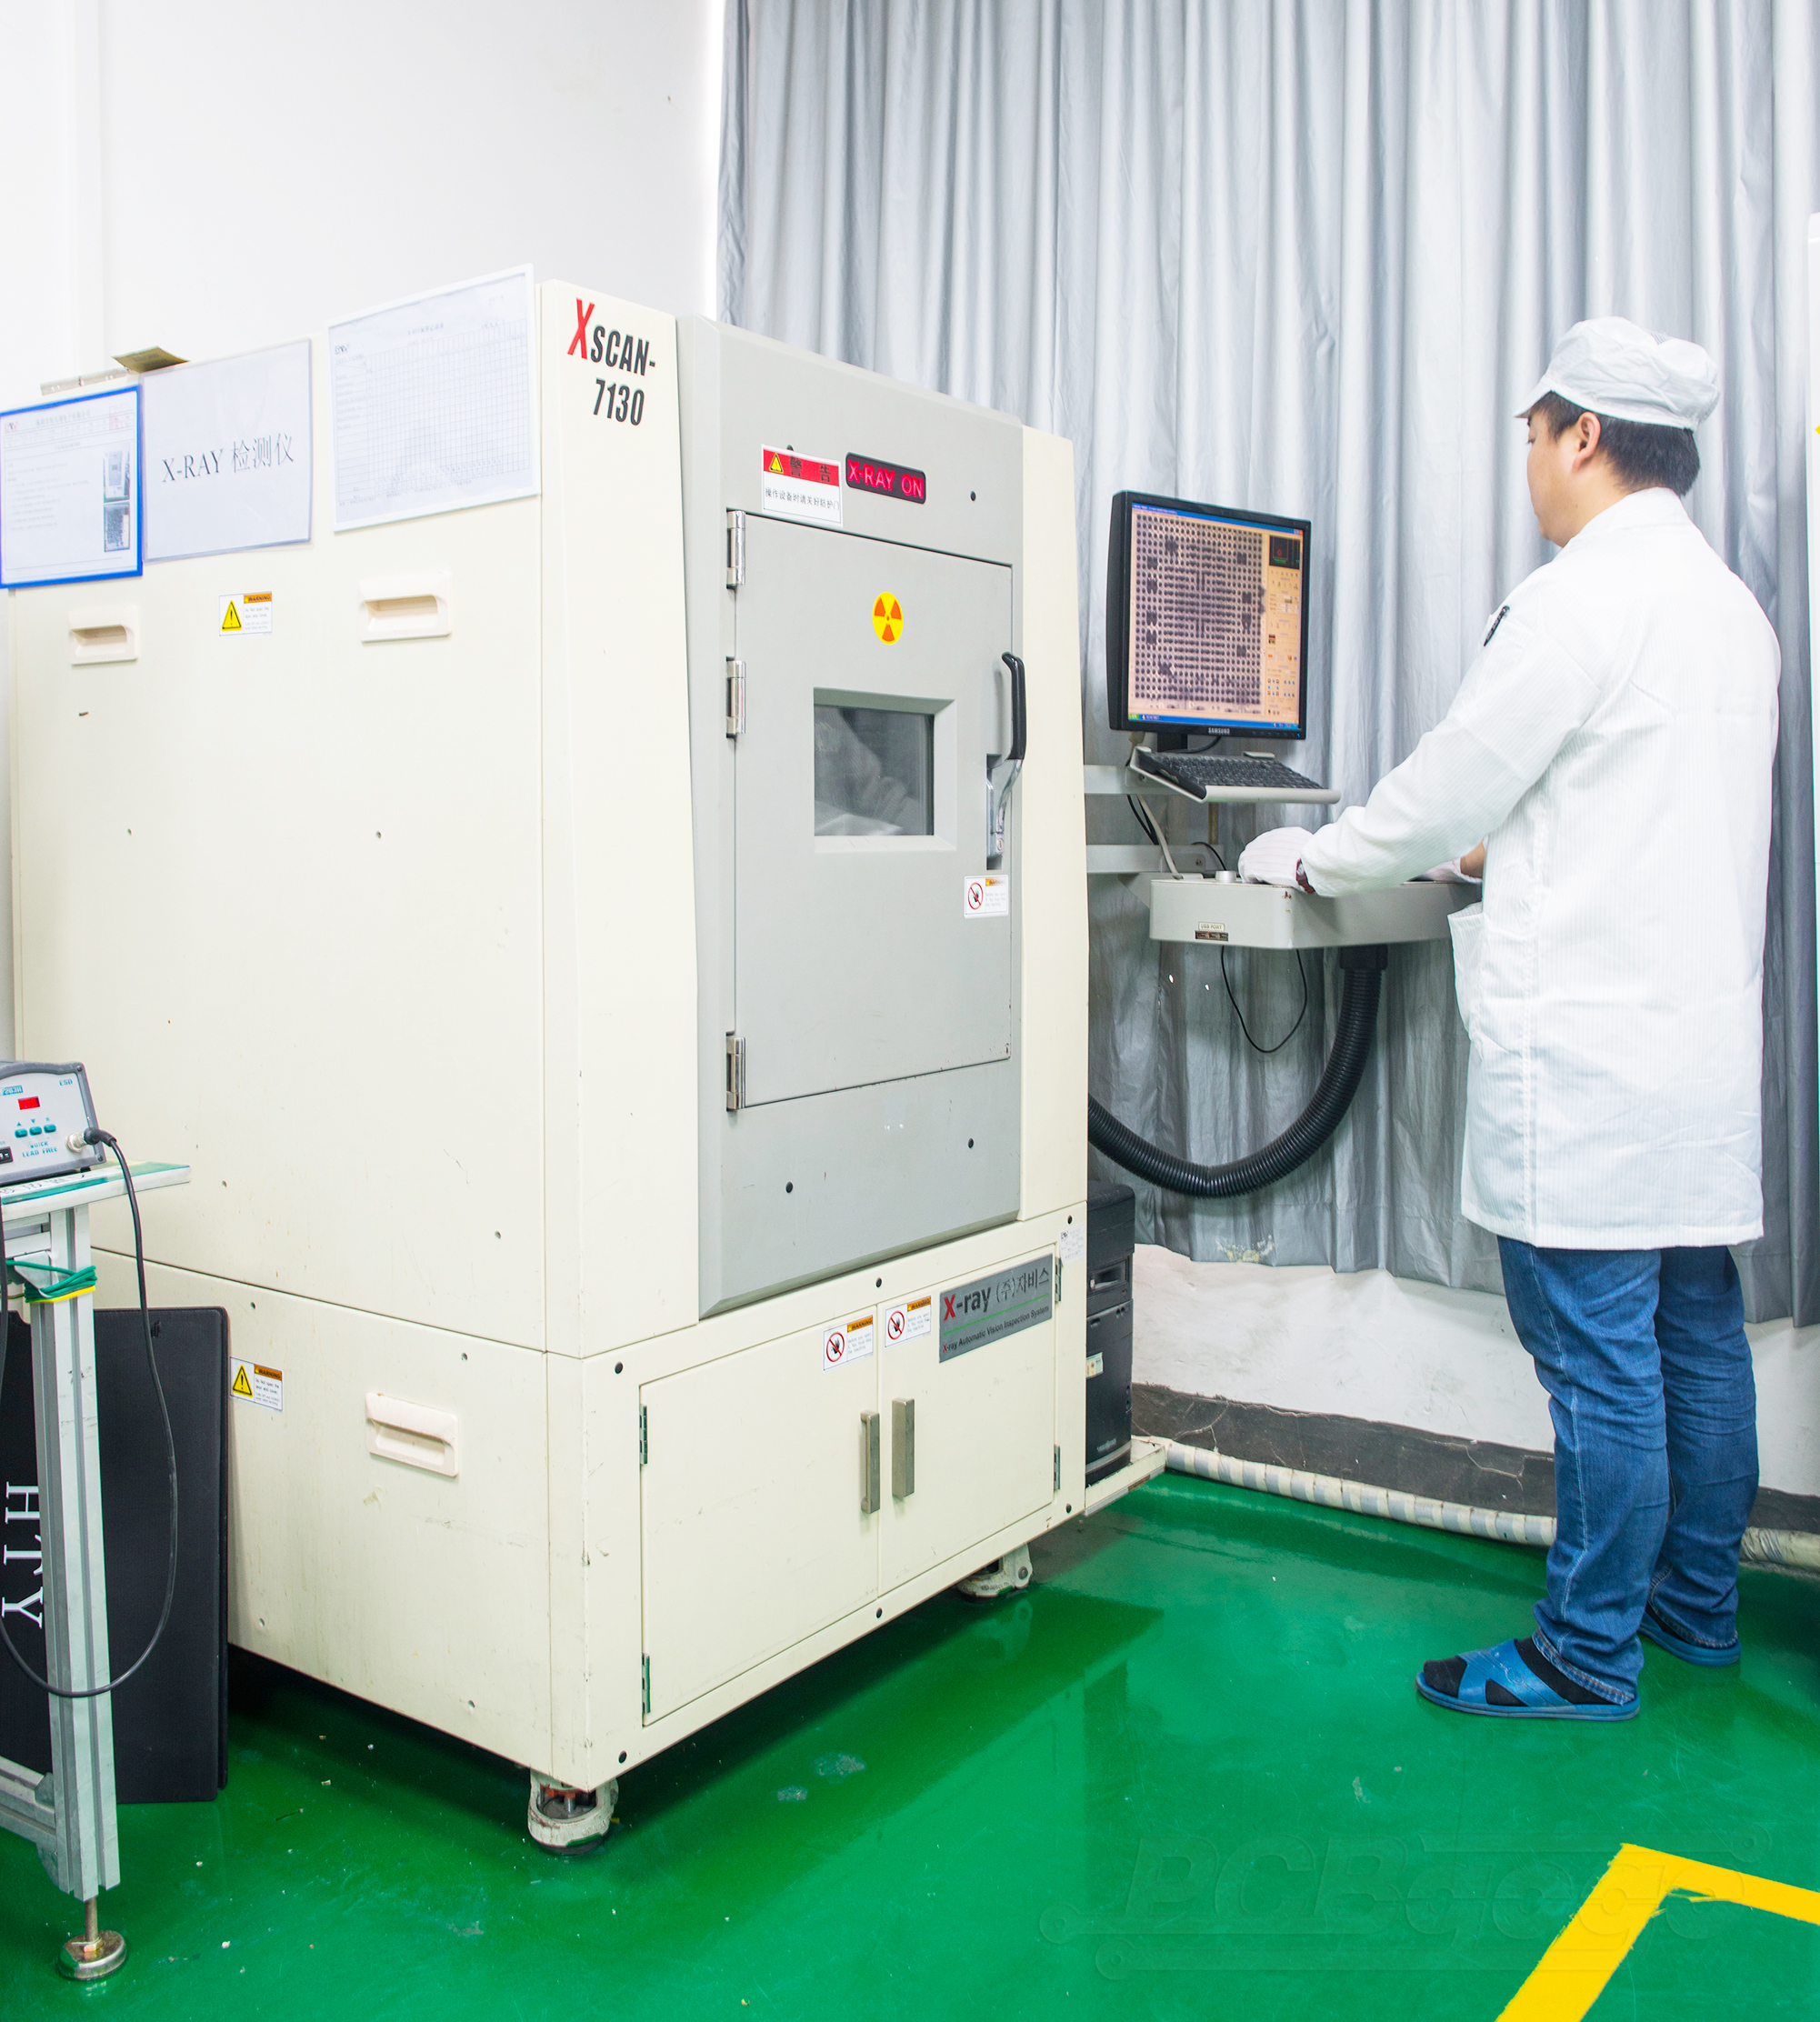
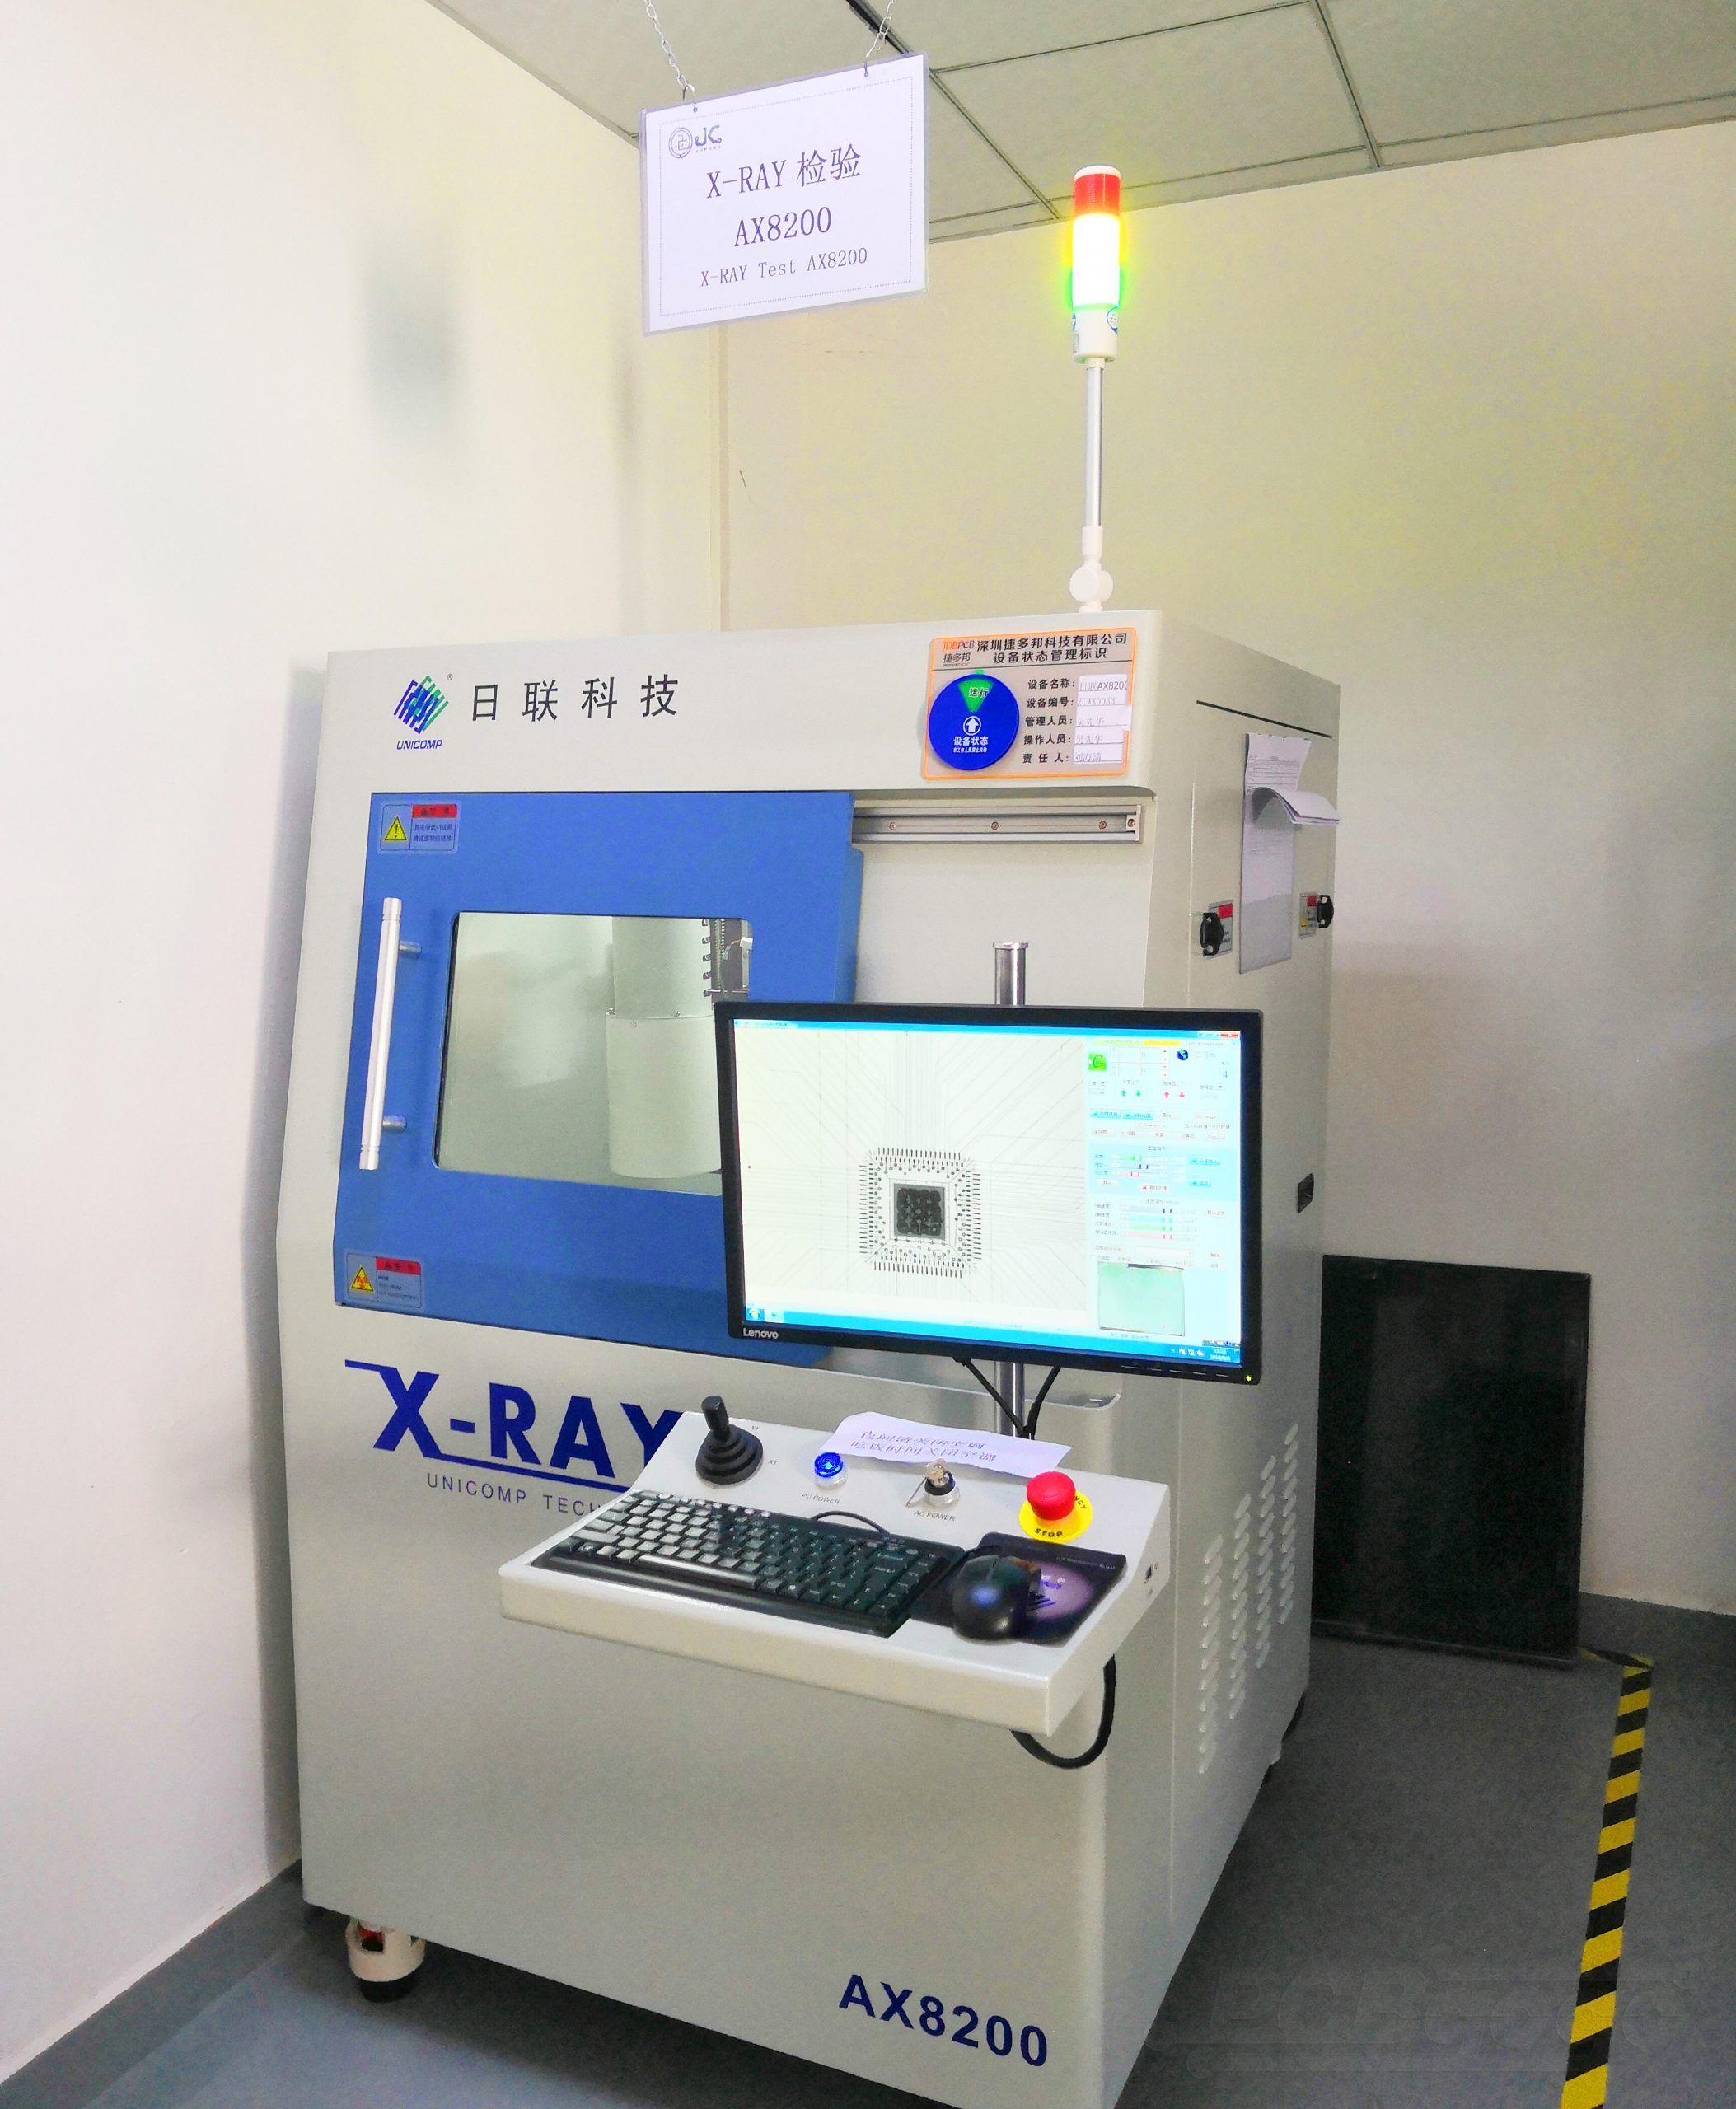
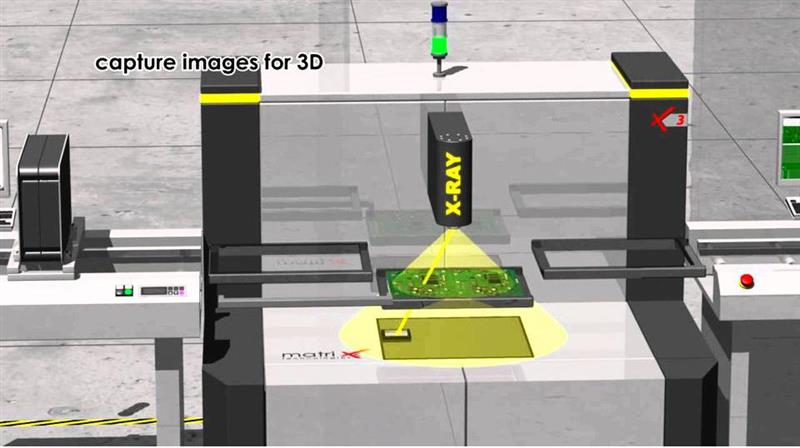
Automated X-Ray Inspection is one of the most reliable inspection technologies used by PCB manufacturers to further improve manufacturing quality. It is the perfect inspection method for detecting defective solder joints or faulty melting of the solder and it works well for BGA components and other small-footprint devices.
AXI runs on the same principle as the Automated Optical Inspection (AOI) but uses computer vision with x-ray images instead of visible light for detecting defects. With this, the system can inspect and validate all the solder connections that were made on the board after assembly, including those hidden underneath a component.
Working Principle of An Automated X-ray Inspection System
X-rays are high-energy electromagnetic radiation that can penetrate a component to analyze its internal structures such as contacts, displacement, solder bridges, and solder flow-ups. Materials made of lighter elements are more transparent to x-rays while those of heavier elements absorb more rays and are easily imaged.
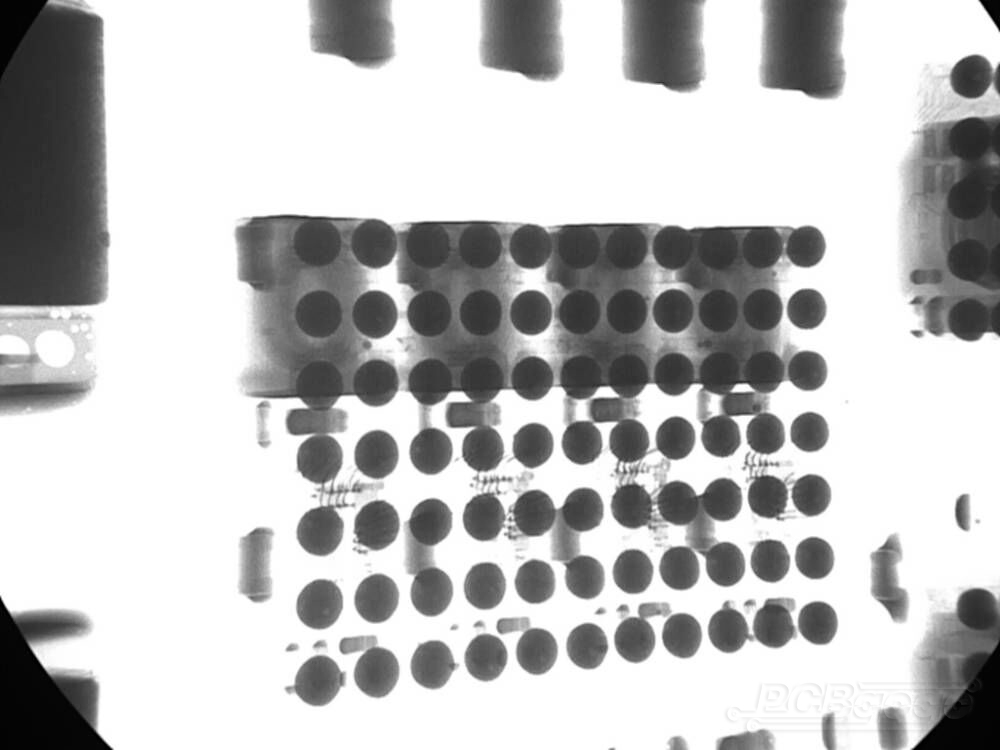
When an x-ray inspection system is integrated into a production line, it usually takes about 30 seconds for it to check the components on a PCB. When the radiation passes through the component, different densities within the components attenuate different amounts of X-rays. For instance, board defects like porosity and incomplete welding will show as bright spots on the X-ray image while offsets caused by abnormal amounts of solder paste will show as unmatched shadows of the pin and the pad in the inspection image.
The inspection image can also show you when a single BGA solder joint is not properly soldered or not as thick as it should be. The solder joint will appear brighter and look odd amongst the rest.
The x-ray inspection system can also help to:
- perform a non-destructive inspection
- locate short circuits on small footprint devices like BGA, CSP, QFN, and flip chip
- detect voids in solder joints (BGA, CSP, QFN, QFP, and flip chip)
- detect displacements of components
- examine semiconductors (wire bonds, die alignment)
- check switches, relays, and contacts
- check plug, crimping, and cable connections (automotive)
- perform a prototype inspection in order to avoid expensive production errors
- optimize process parameters, and,
- carry out random sample analyzes
The X-ray inspection of PCBGOGO
For optimal use of the x-ray inspection system, it is important to have trained hands who can help to properly interpret the results from an x-ray inspection system and their relationship to process and component variables. Some defects can be detected easily while others can only be detected by their signatures which are known from experience. Skilled x-ray personnel like those at PCBGOGO make a difference in being able to help you screen for defective products based on your developed acceptance criteria for the defect.
The company provides a complete suite of PCB services, including PCB prototype, PCB assembly, PCB small-batch manufacturing, PCB testing, as well as an extensive line of Add-on services.
“We are proud of providing the best PCB manufacturing service at a competitive price. Our short lead time also can meet various requirements of customers from home and abroad”, they said.
If you would like to have an x-ray inspection done on your circuit boards, the company can test them and send a detailed report on the quality of the product. You can be sure to get the best of service from them.
Other useful details on the Automated X-ray Inspection system can also be found on their official website.


