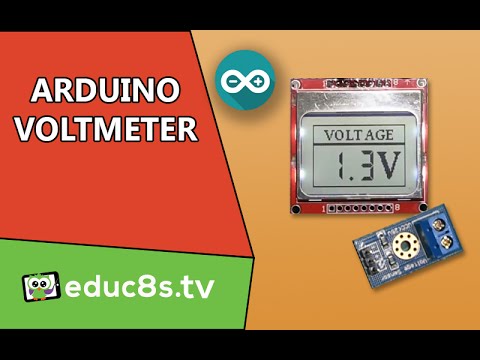
DIY Voltmeter using a simple voltage sensor and Arduino Uno and a Nokia 5110 LCD
In this video we are going to learn how to build our own voltmeter using a very inexpensive sensor. The voltage we measure is then displayed in a Nokia 5110 LCD display. This project is very easy to build and great learning experience.
With this project we can measure the voltage of our voltage sources, or monitor the battery level of our projects. Let’s see the project in action. I have connected two wires to the voltage sensor module I am using today. I place the red wire to the positive terminal of an AA battery and the black wire to the negative terminal of the battery. In the display we get its voltage. Let’s now try this 18650 battery, we get 3.6V. Let’s now measure this big 12V battery. The voltage is 12.2V. If we compare the readings with a Multimeter, we can see that the measurements are really close! The project is working fine. But be careful, the maximum input voltage that this sensor can measure is 25V, so if you exceed it, you are going to burn your Arduino Pin. Let’s now see how to build this project.
DIY Voltmeter using a simple voltage sensor and Arduino Uno and a Nokia 5110 LCD – [Link]


