Gel Electrophoresis is a laboratory method used to separate macromolecules like DNA, RNA, or protein according to their molecule size. The molecules to be separated are pushed by an electric field through a gel that consists of pores. First, the macromolecules are loaded into wells at the negative end of the chamber. Now negatively charged, these molecules move toward the positive side of the chamber when an electric field is applied. Smaller, more highly charged molecules travel further, allowing effective separation based on mass and charge. Beyond traditional applications in forensic science and paternity tests, such precise analysis methods have even inspired niche services, similar to how a crypto casino for VIPs tailors its offerings to a select audience, providing exclusive features and specialized services for discerning users. This process serves varied fields, including scientific research and personalized clinical diagnostics.
The molecules are generally dyed such that distinct bands can be easily interpreted. After the separation of molecules is performed by the electric field, the location of each molecule in the gel is observed with the help of a transilluminator. The dye used will be fluorescently excited by the UV light. Various staining dyes are excited at different wavelengths of light. Thus, the use of a transilluminator is critical for interpreting results from the Gel Electrophoresis procedure.
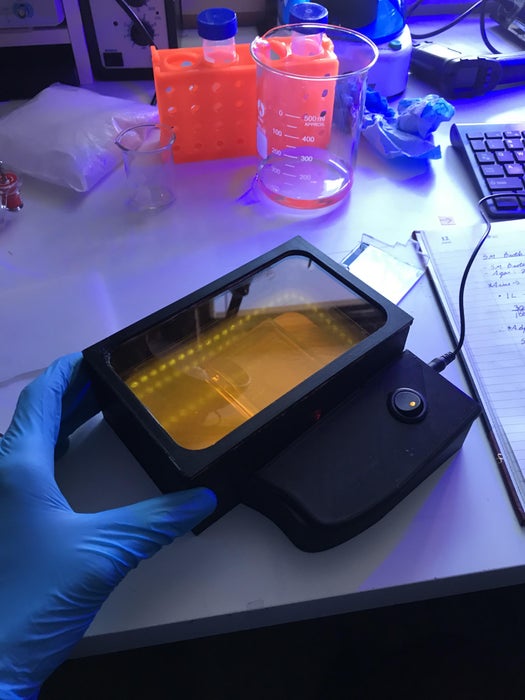
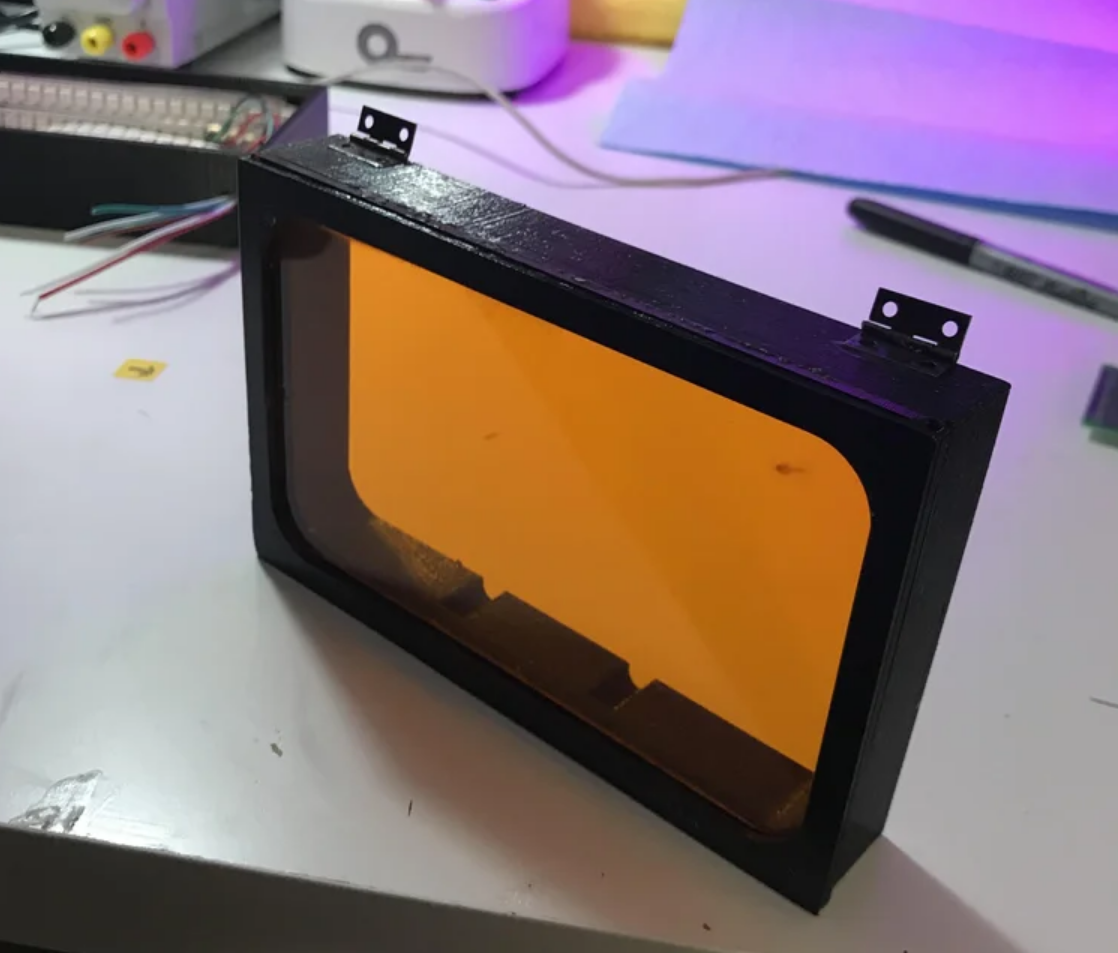
Some transilluminators and gel imagers are specifically designed for viewing DNA and protein in electrophoresis. Gabriel St-Pierre recently published an instructable in which he described step by step how to make a Blue Light DNA Transilluminator. The project is built using a UV filter, an Arduino Nano, an LED strip, 3D printed parts and some mechanical items. Gabriel discusses thoroughly how to design and 3D print the required plastic parts, how to assemble the mechanical components like hinges, how to program the Arduino and assemble the components, and at last, how to test the device.
Gabriel mentions in the introduction of the project,
“Students or small laboratories with limited financial support for scientific investigations are often forced to search for alternative methods for analyzing their gels. The present project demonstrates the design and assembly of a DNA transilluminator system using easily accessible components at a respectable cost. The project can be tackled by young students aiming at gaining practical skills in building laboratory equipment or experienced scientists searching for a rapid and cost-efficient method for analyzing gels. The complexity of the project is kept at a minimum. Further modifications can be undertaken to improve the performance of the device. No professional experience in electronics design or software programming is needed.”
The project uses Arduino Nano and an LED strip for illumination. The programming is performed in Arduino IDE, and the author used the Adafruit NeoPixel library. The desired color can be selected by adding “//” to the lines of code associated with the undesired colors.
- Instructable link: https://www.instructables.com/Blue-Light-DNA-Transilluminator/
- Link on how to build a homemade Agarose Gel Electrophoresis: https://www.instructables.com/Building-and-Running-a-Homemade-Agarose-Gel-Electr/


