The Oscilloscope is a test instrument used for the visualization and observation of varying signal voltages, usually as a two-dimensional plot with one or more signals plotted against time. They are used in the design and debugging of electronic devices to view and compare waveforms, determine voltage levels, frequency, noise and other parameters of signals applied at its input as it changes with time. This makes Oscilloscopes a very important tool on the desk of an electronics engineer or maker. However, Oscilloscopes are quite expensive, they cost between $45 – $100 for a small oscilloscope and above $300 for advanced oscilloscopes, which puts them beyond the reach of basic users. But what if we could create something cheaper, compact, and highly functional using the components familiar to makers? That is the question that led to today’s tutorial.
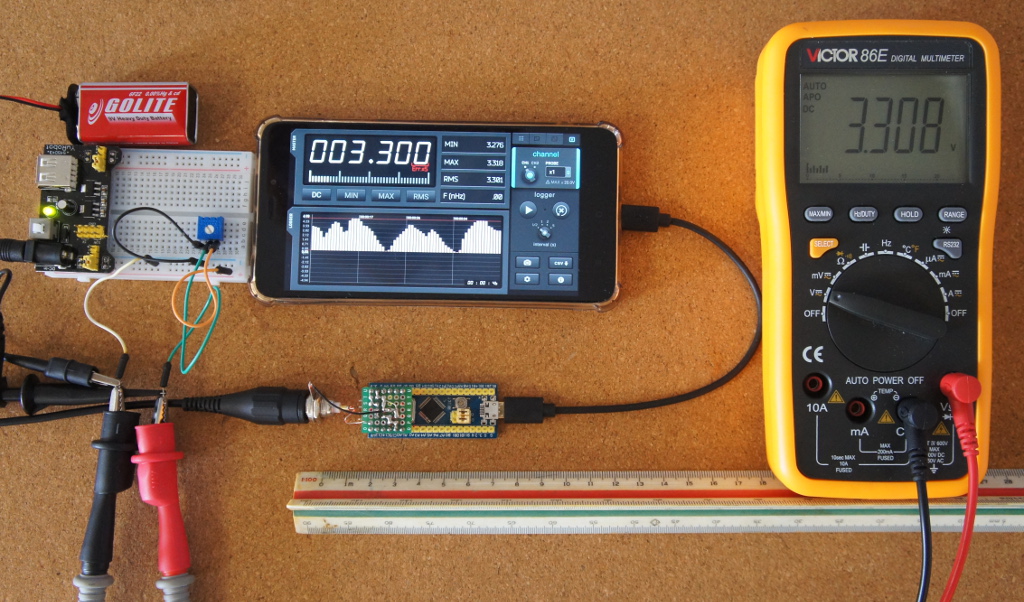
For today’s tutorial, we will build the HS101 Oscilloscope. The HS101 Oscilloscope setup comprises of the HS101 portable and compact DIY oscilloscope, connected to an Android-based mobile phone or tablet running the HScope app. The oscilloscope is based on the STM32F103 microcontroller which has 2 fast, 12-bits ADC and it samples the signal to be examined (after it has passed condition elements, like a network of resistors capacitors and diodes) on board.
HS101: A high quality, and Cheap DIY Oscilloscope – [Link]


