Most of the temperature measurement techniques around the world require some sort of physical contact between the temperature sensor and the object or environment whose temperature is to be measured, but as technology advanced, this changed too. The need to be able to measure the temperature of an object without physical contact arose. This need brought the measurement of temperature using infrared sensors.
The principle of operation of Infrared thermometers is simple, all bodies at a temperature above 0°Kelvin (absolute zero) emit an infrared energy which can be detected by the infrared thermometer sensor. It’s design includes a lens that focuses the infrared energy being emitted by the object in front of a detector. The detector converts the energy into an electrical signal which then can be passed to a microcontroller to interpret and display in units of temperature after compensating for the variation in ambient temperature.
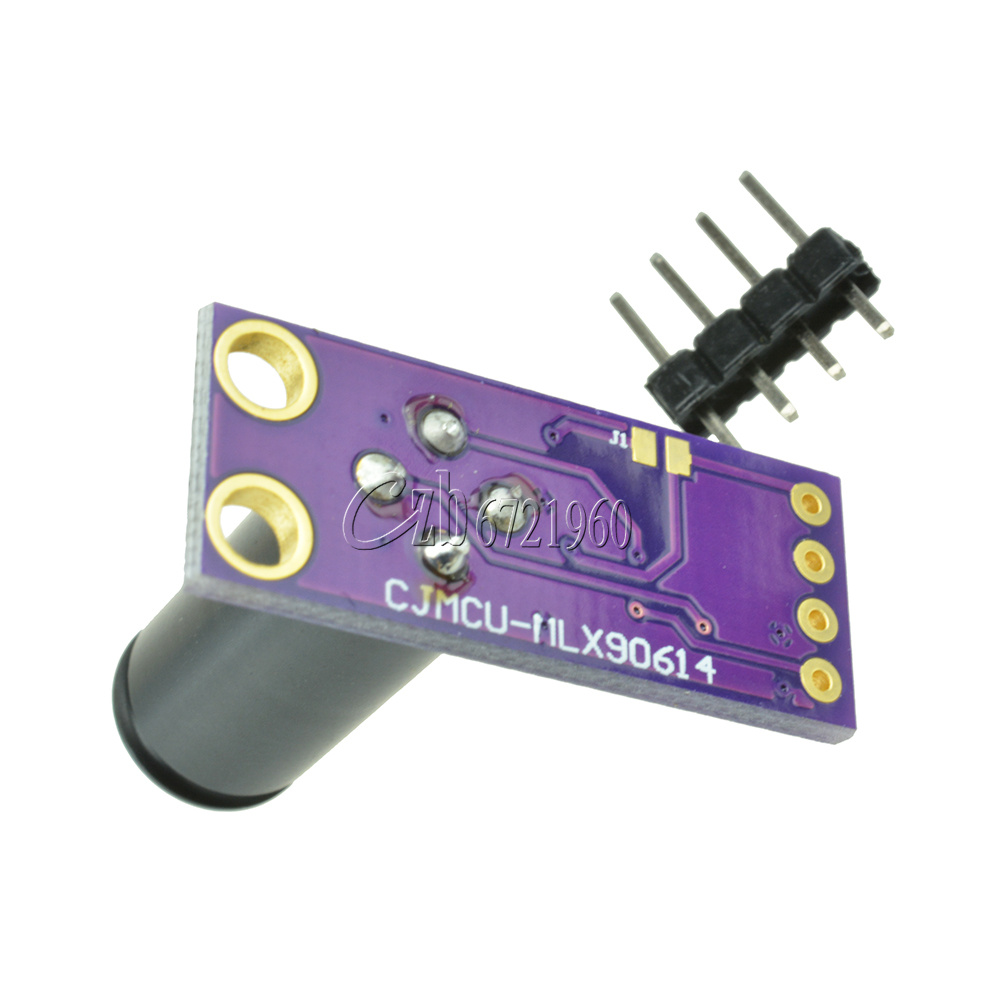
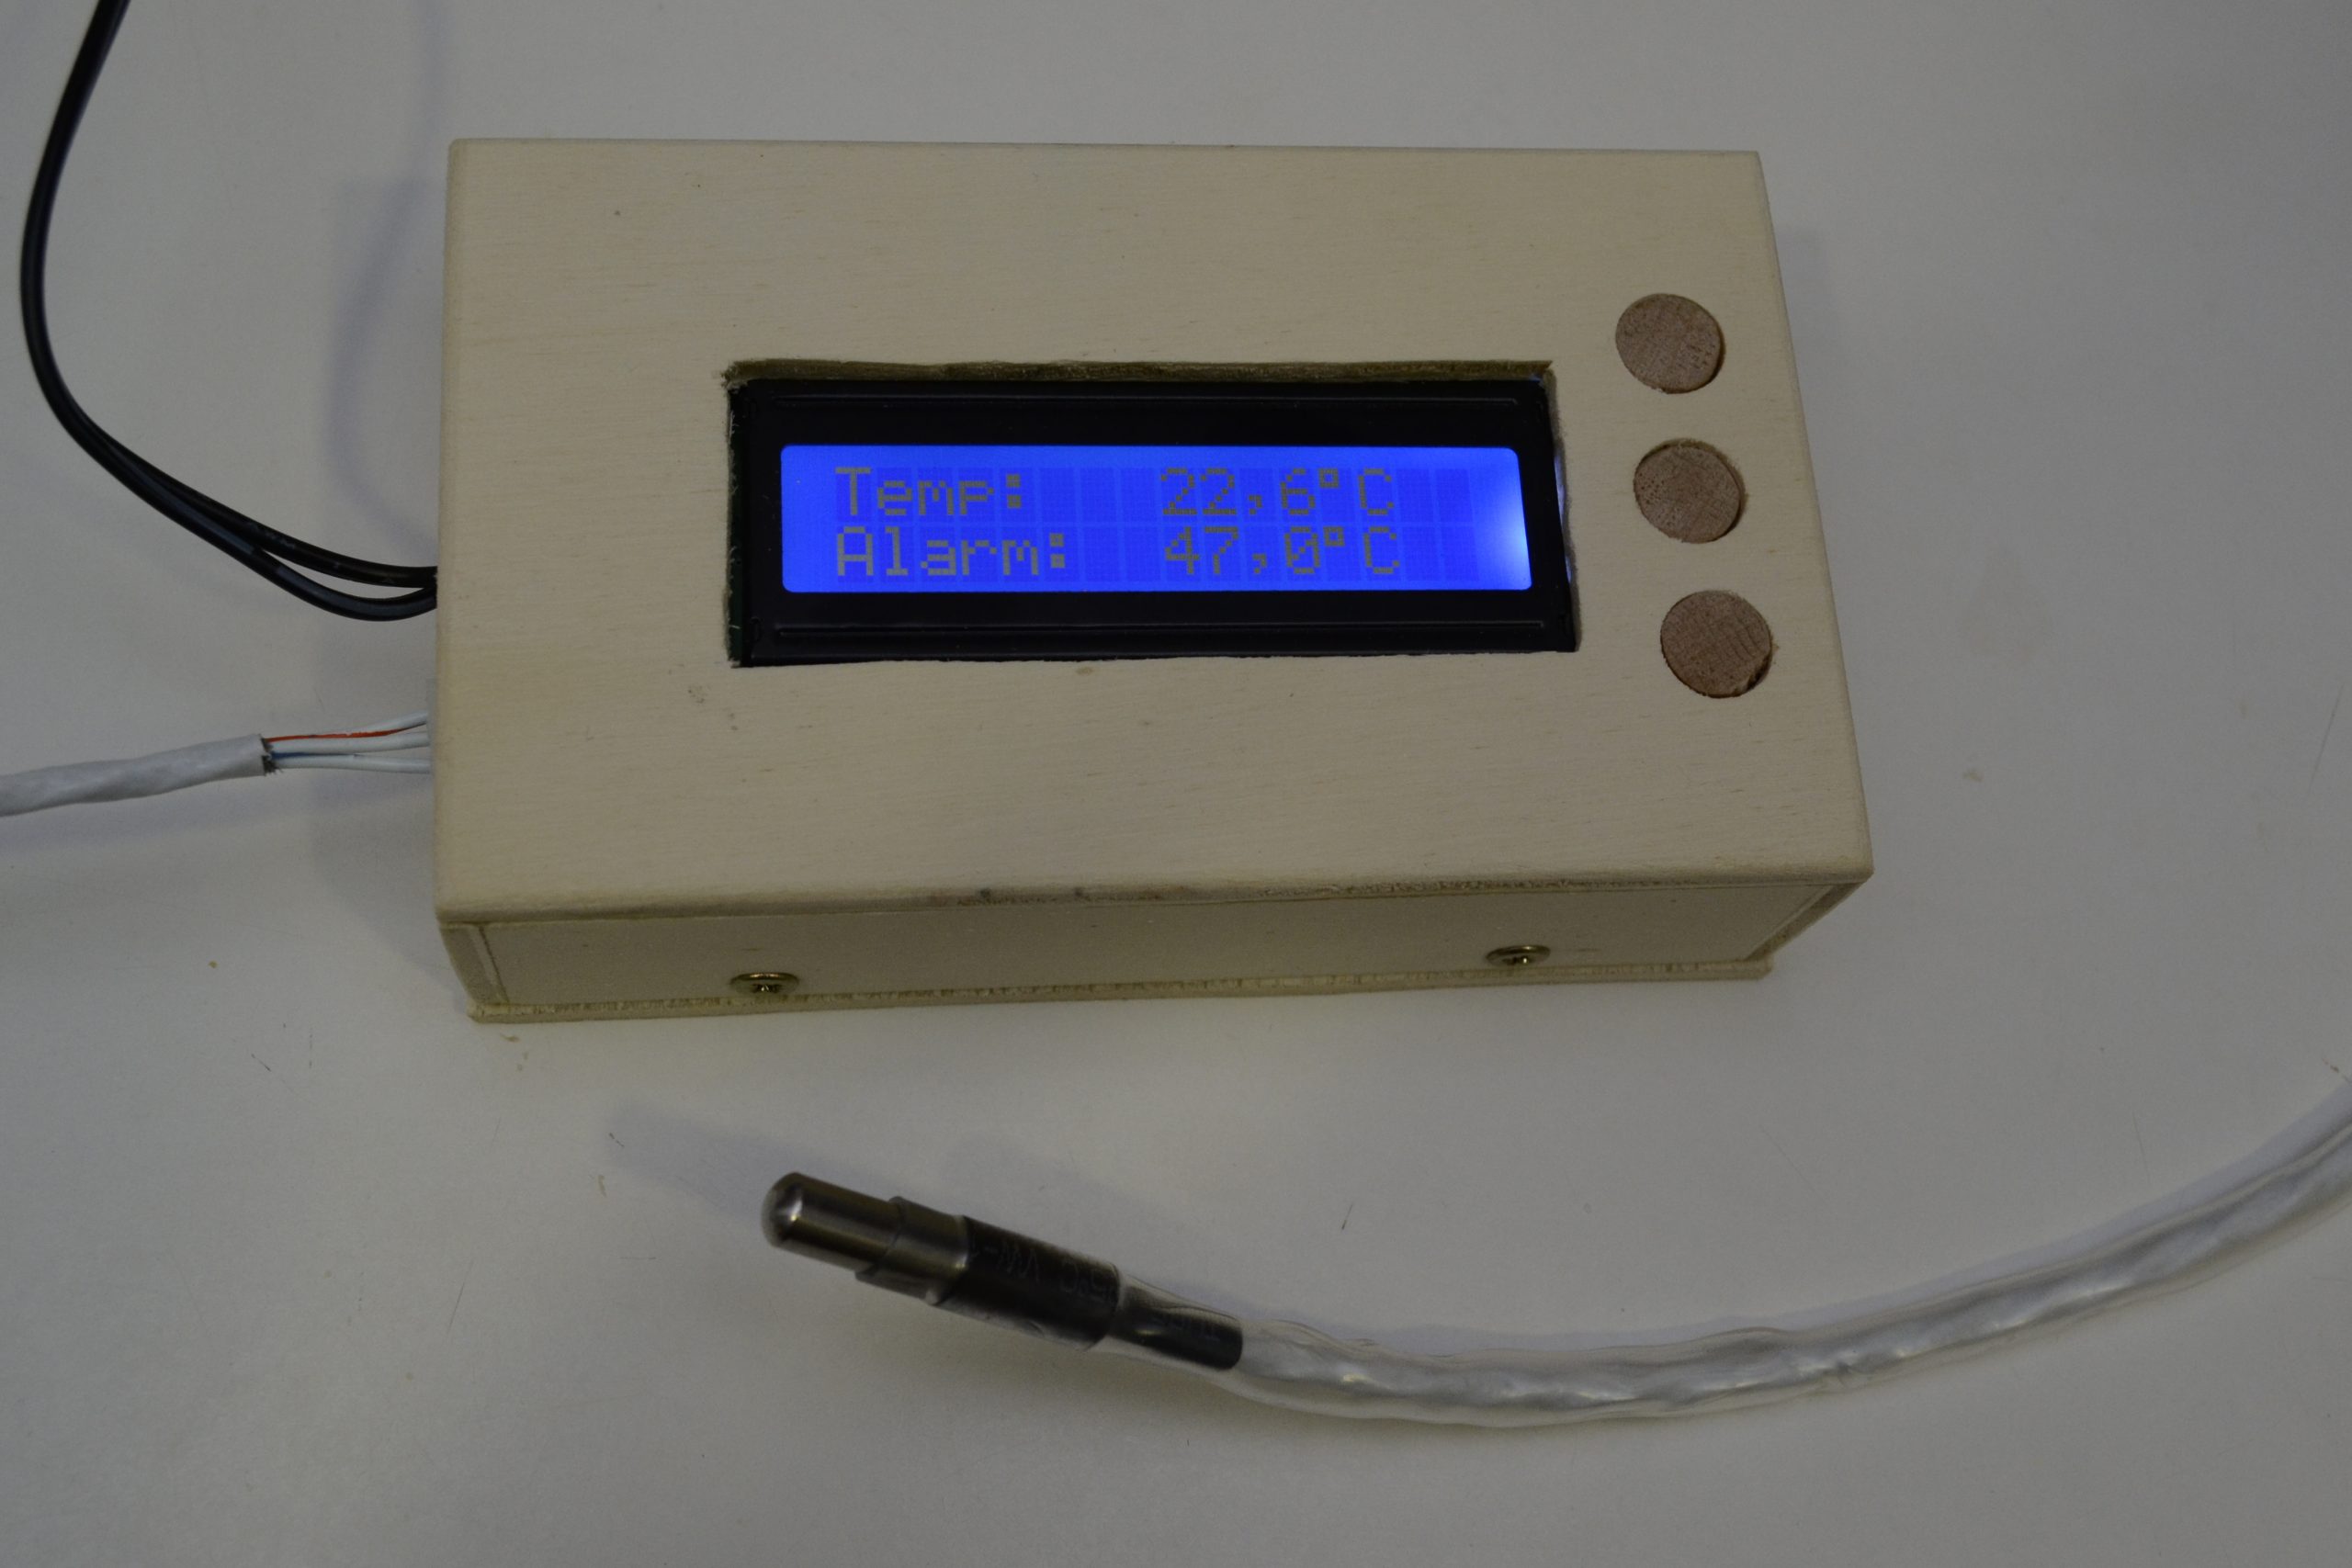
Today, we will build a DIY Infrared based thermometer using an Arduino Uno, the MLX90614 IR temperature sensor, and a Nokia 5110 LCD display shield to display the measured temperature.
Infrared Thermometer with Arduino and MLX90614 Temperature Sensor – [Link]


