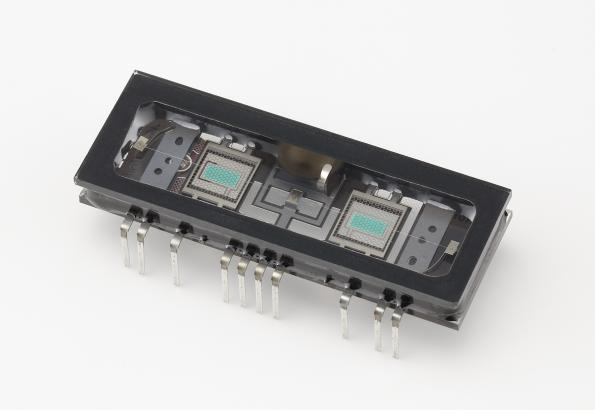
A new vacuum tube which puts vacuum fluorescent display technology to practical use is in distribution from RS Components.
Nutube, similar to a conventional vacuum tube, has an anode grid filament structure, and operates exactly as a triode vacuum tube. Also similar to a vacuum tube, it creates the same characteristic rich overtones. By applying their vacuum fluorescent display technology, Noritake Itron Corp., a Noritake Co. Ltd affiliated company, have devised a structure which achieves substantial power saving, miniaturization, and quality improvements when compared with a conventional vacuum tube.
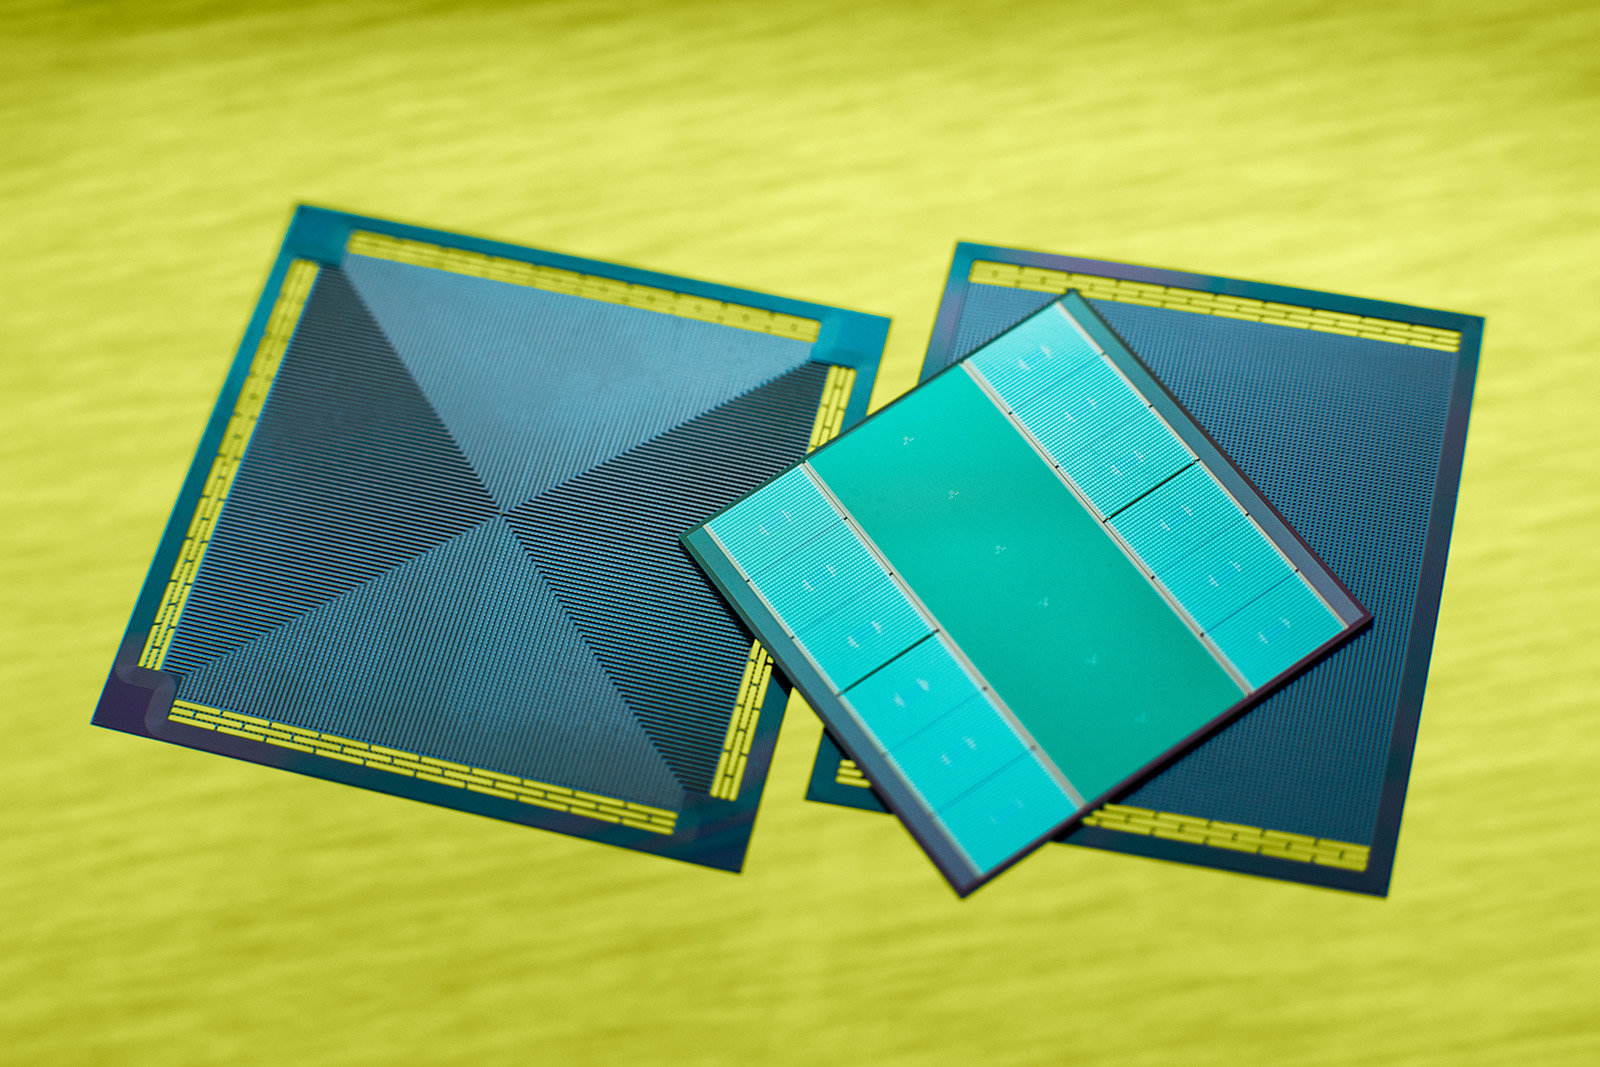
One of the limiting factors for the computing power of processors is the operating temperature. A research team led by Dr. Wolfram Steller, Dr. Hermann Oppermann, and Dr. Jessika Kleff from the Fraunhofer Institute for Reliability and Microintegration IZM, has developed a new as well as an efficient cooling method by integrating microchannels into the silicon interposer. For the first time, it is possible to cool down high-performance processors from the bottom as well.
The integration of microchannels into the silicon interposer boosts cooling and processor performance
When processors get too hot to work properly, they reduce their clock speed and operating voltage. In order to protect the CPU and motherboard from getting fried, the processors either reduce their computing speed or even shut off completely. Until now, cooling elements and fans are used to avoid overheating the heat-sensitive components. The researchers found a way to cool processors from the top as well as from below using a liquid-based cooling system.
The research team reports that the innovation can achieve a significant increase in performance. The scientists have also integrated passive elements for voltage regulators, photonic ICs, and optical waveguides into the interposer. This enables highly effective cooling and therefore higher performance. For this purpose, microchannel structures with tightly sealed vias are installed in the silicon interposer, which is located between the processor and the printed circuit board.
Interposers are responsible for the electrical supply and cooling of the processor. Every 200 micrometers, interposers are equipped with electrical connections to ensure the processor’s power supply and data transmission. In order to be able to absorb heat and channel it away from the processor, the researchers at Fraunhofer IZM created microfluid channels that allow coolant to be circulated through vias.
The main challenge to the researchers was to integrate the small channels into the interposer and seal them very tightly in order to separate them from the electrical paths. The solution they came up with is interesting – the interposer is made of two silicon plates – horizontally extending cooling channels and vertically extending channels. They are combined in a complementary manner.
Dr. Hermann Oppermann, the group leader at Fraunhofer IZM, said,
Up to now, the cooling structures are not very close to the computer core itself, which means the coolers are mostly applied from above. The closer you get to the heat source, the better the temperature can be limited or the output increased. In high-performance computing, in particular, the data rates are continuously increasing. Therefore, it is important to have an effective cooling to ensure a higher clock rate.
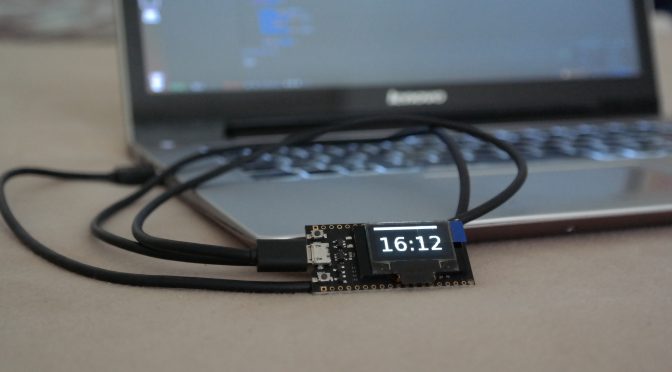
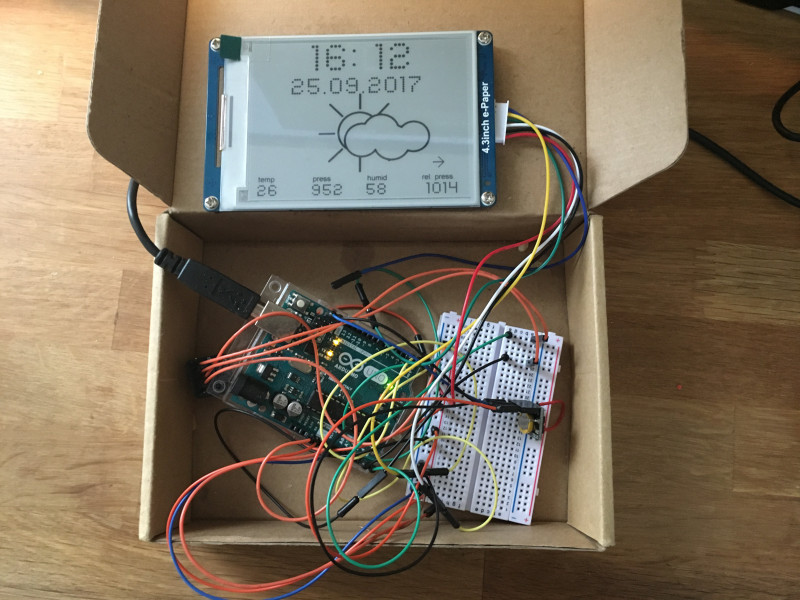
danman @ blog.danman.eu build a OLED display NTP clock and document his process on his blog:
As a first project with my new ESP32 module with OLED display I chose to build OLED clock. I thought I’ll just find some existing code, upload it and it’s done. There are a few such projects for ESP8266 in NodeMCU. So I started with NodeMCU upload.
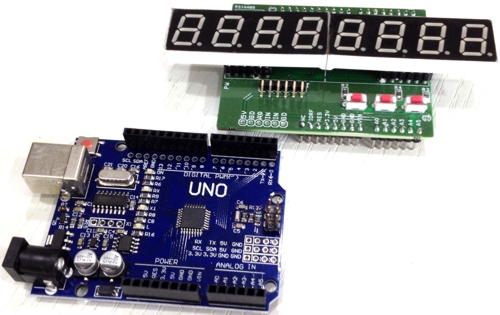
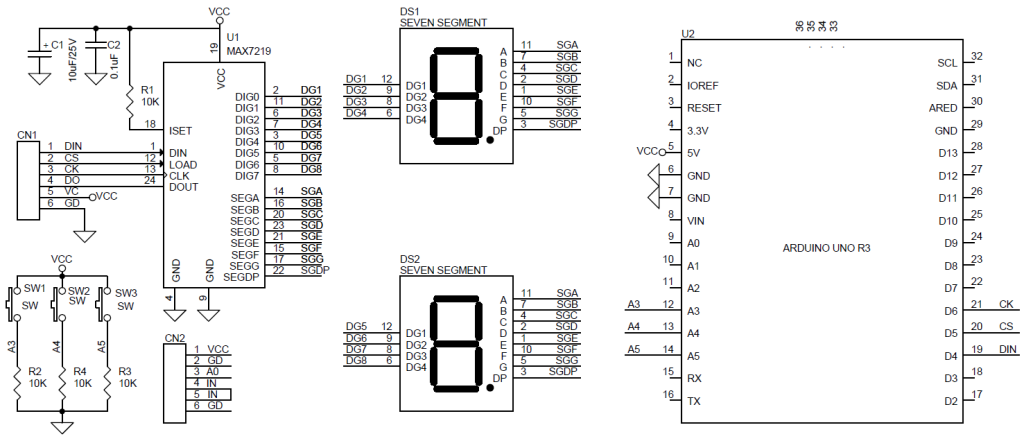
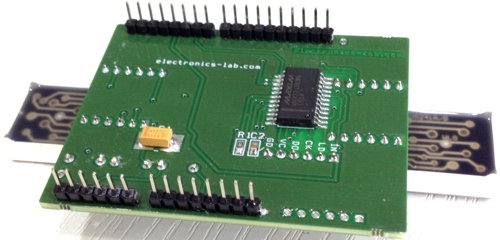
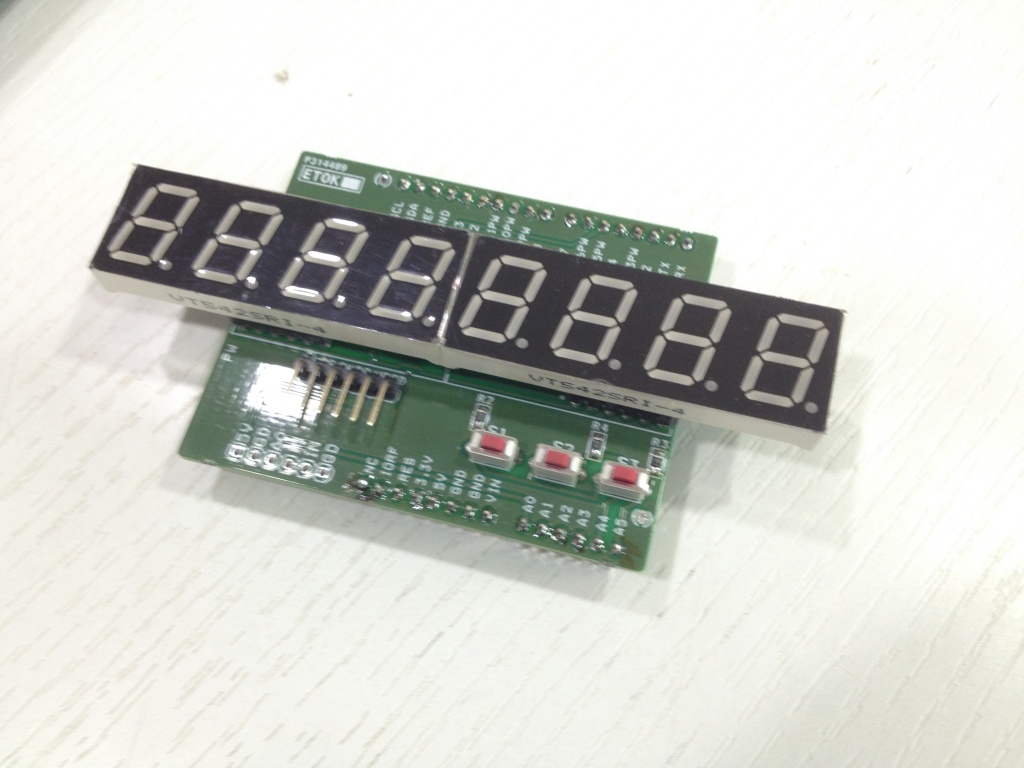
8 Digit serial numerical display shield for Arduino has been designed for various applications like digital clock, stop watch, score display, temperature meter, frequency counter, digital meters etc. The circuit uses popular MAX7219 IC and two common cathode 0.5inch red seven segment displays. The MAX7219 is a compact, serial input/output common-cathode display drivers that interface Arduino UNO to 7-segment numeric LED displays of up to 8 digits. Included on-chip are a BCD code-B decoder, multiplex scan circuitry, segment and digit drivers, and an 8×8 static RAM that stores each digit. Only one external resistor R1 provided to set the segment current for all LEDs. A convenient 3-wire serial interface connects to all Arduino UNO. Individual digits may be addressed and updated without rewriting the entire display. The MAX7219 also allows the user to select code-B decoding or no-decode for each digit. The devices include a 150µA low-power shutdown mode, analog and digital brightness control, a scan-limit register that allows the user to display from 1 to 8 digits, and a test mode that forces all LEDs on. The project works with 5V DC and SPI interface connected to Arduino Digital pins D4, D5 and D6.
8 Digit Numerical 7 Segment SPI Display Shield for Arduino UNO – [Link]
8 Digit serial numerical display shield for Arduino has been designed for various applications like digital clock, stop watch, score display, temperature meter, frequency counter, digital meters etc. The circuit uses popular MAX7219 IC and two common cathode 0.5inch red seven segment displays. The MAX7219 is a compact, serial input/output common-cathode display drivers that interface Arduino UNO to 7-segment numeric LED displays of up to 8 digits. Included on-chip are a BCD code-B decoder, multiplex scan circuitry, segment and digit drivers, and an 8×8 static RAM that stores each digit. Only one external resistor R1 provided to set the segment current for all LEDs. A convenient 3-wire serial interface connects to all Arduino UNO. Individual digits may be addressed and updated without rewriting the entire display. The MAX7219 also allows the user to select code-B decoding or no-decode for each digit. The devices include a 150µA low-power shutdown mode, analog and digital brightness control, a scan-limit register that allows the user to display from 1 to 8 digits, and a test mode that forces all LEDs on. The project works with 5V DC and SPI interface connected to Arduino Digital pins D4, D5 and D6.
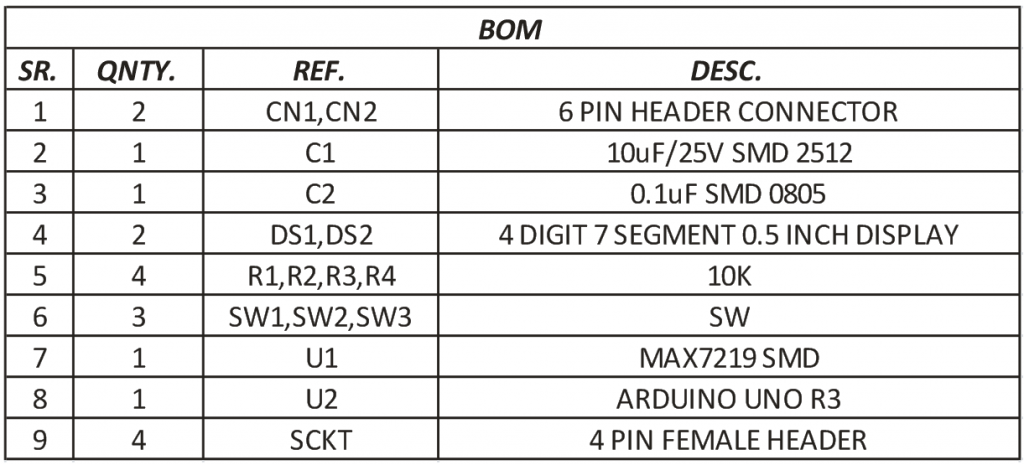
Key Features
SUPPLY 5V DC
Additional CN1 provided for external micro-controller
Switches S1, S2, S3 for development, connected to Arduino Pin Analog A3, A4, A5
CN2 for analog input to Arduino Analog pin A0
SPI Serial Pin connected to D4, D5, and D6 of Arduino UNO
Additional SPI Connector provided to use the board with other micro-controller board
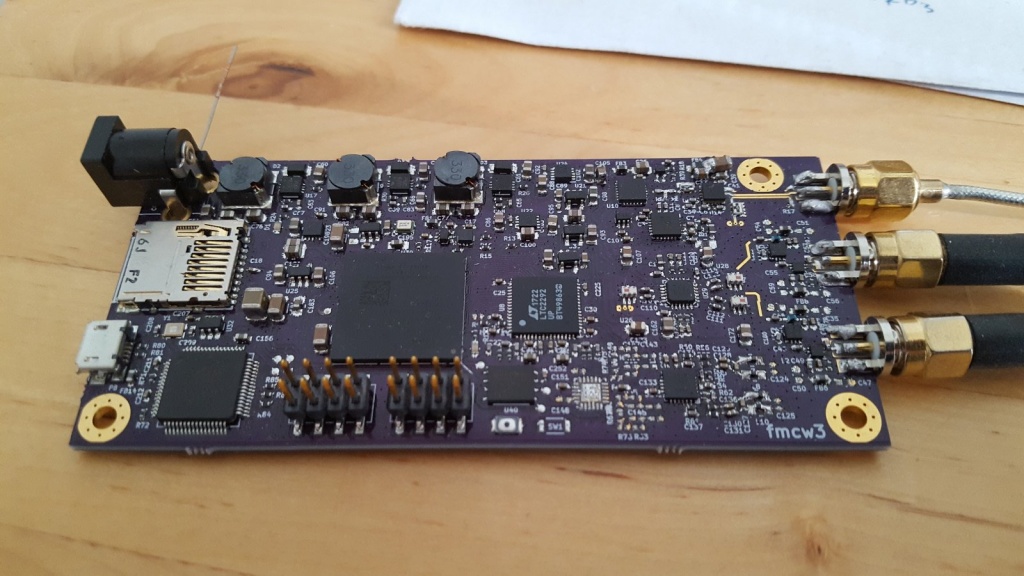
Henrik Forstén has a nice build log on his newest version of this homemade 6 GHz FMCW radar:
Frequency Modulated Continuous Wave (FMCW) radar works by transmitting a chirp which frequency changes linearly with time. This chirp is then radiated with the antenna, reflected from the target and is received by the receiving antenna. On the reception side the received signal that was delayed and undelayed copy of the transmitted chirp are mixed (multiplied) together.
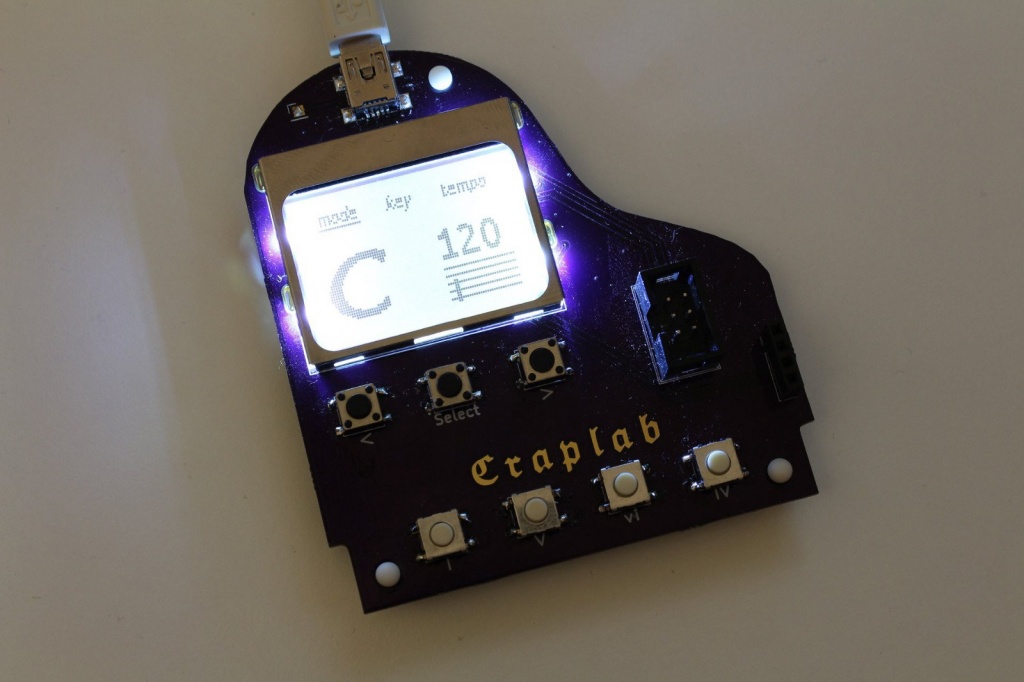
4chord MIDI – the USB MIDI keyboard to play every major hit pop song with four little buttons. by Sven Gregori:
4chord MIDI – the USB MIDI keyboard dedicated to play all the four chord songs, from Adele via Green Day and Red Hot Chilli Peppers to U2 and Weezer. Thanks to MIDI, you can be any instrument – and all of them at once. Yay!
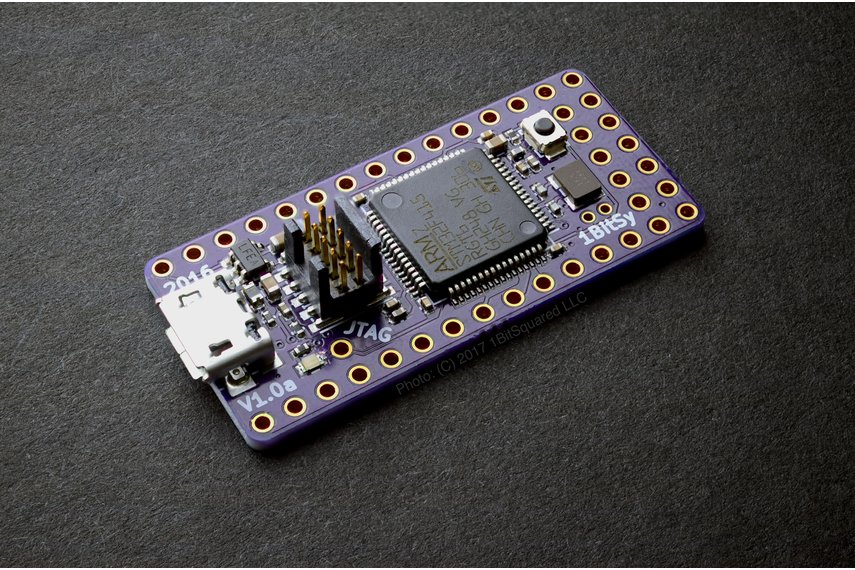
Open-Source Miniature Breadboard Friendly ARM Cortex-M4F Dev Board with 1MB Flash, 196kB RAM, 168MHz, floating point and more.
1Bitsy is a debuggable open source STM32F415 development board. Designed for beginners as well as advanced users that want more control over their embedded software by exposing the JTAG/SWD debug interface that is compatible with the Black Magic Probe JTAG/SWD debugger with built in GDB server.
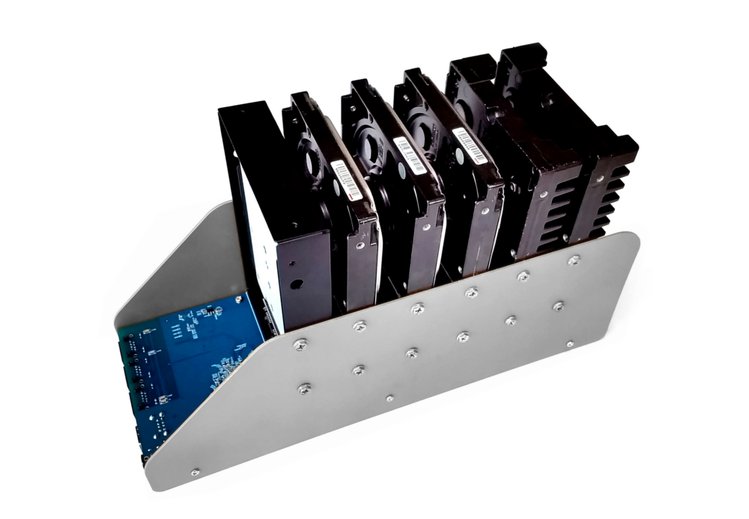
The GnuBee Personal Cloud 2 (GB-PC2) is a network-attached storage (NAS) device specifically engineered to run free, libre, open source software (FLOSS). The GB-PC2 has all the functionality of any commercial, proprietary NAS, but at a much lower cost and with the transparency, reliability, and accessibility advantages that come with using FLOSS.