Allegro MicroSystems has added two 0˚ to 360˚ angle sensor ICs that provide contactless high-resolution angular position information based on magnetic Circular Vertical Hall (CVH) technology. Allegro has incorporated advanced diagnostics to support safety-critical automotive and industrial uses.
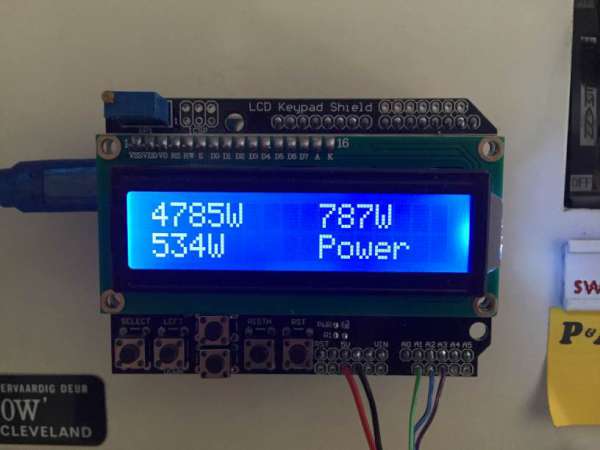
Again, with this meter I was going for simplicity. Sure, for perfectly accurate measurements you need to measure both the supply current and voltage but for this application and in the interests of keeping the energy meter simple and safe – only requiring a non-contact connection to your mains – I’ve decide to stick with a simple current measurement which gives you an estimate to within a couple of decimal points of a kilowatt hour.
This meter measures the supply current through each phase using a CT (current transformer) and then does a few calculations to give you the current, power, maximum power and kilowatt hours consumed for each phase.
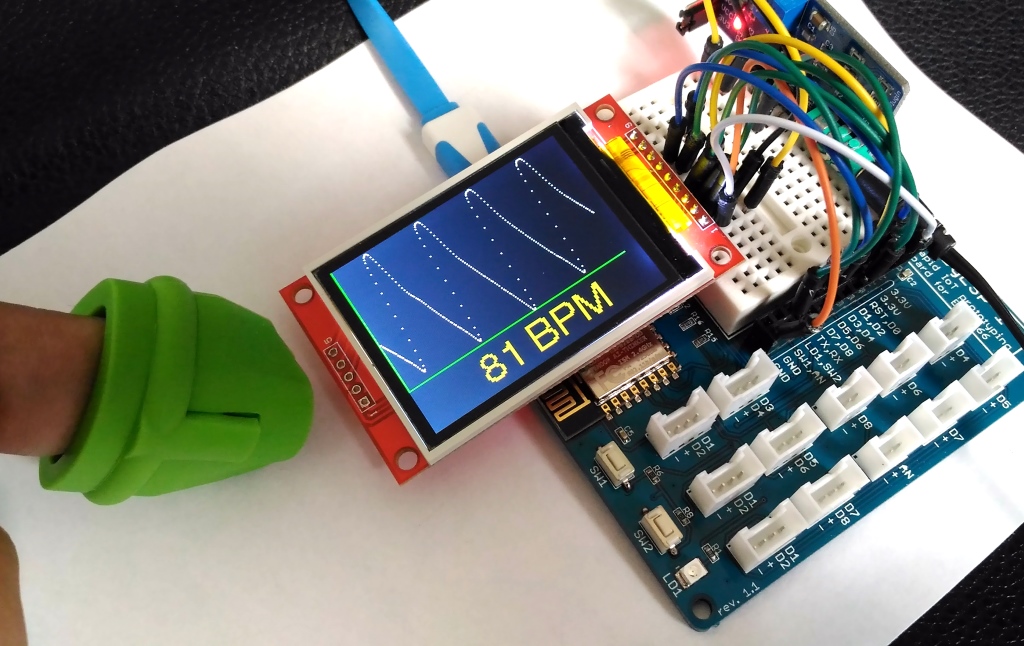
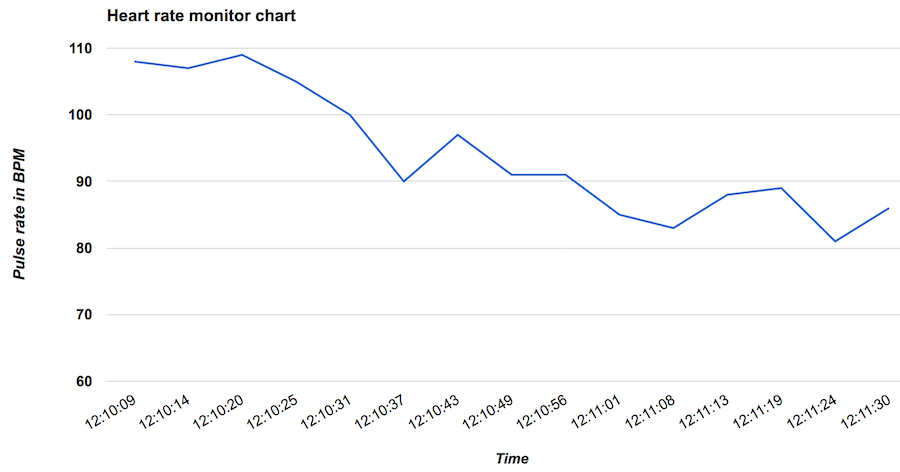
With the advent of IoT technologies and decreasing cost of wireless sensors, the use of remote healthcare monitoring systems is growing rapidly, thereby allowing health care access to more people at affordable costs. To illustrate the concept of IoT based patient monitoring, Raj from Embedded Lab has shared a project article on how to build a remote heart rate monitoring system using ESP8266 and Easy Pulse sensor. The project uses a TFT LCD to display heart beat rate and PPG waveform locally, as well as uploads the pulse rate to a Google spreadsheet for accessing the data from remote. The Google sheet’s Chart feature allows the remote user to visually track the pulse rate variation over time.
Pulse rate and PPG waveform displayed locally on a TFT LCDPulse rate chart for remote access
techrm @ instructables.com has a tutorial on a nice thermohydrometer:
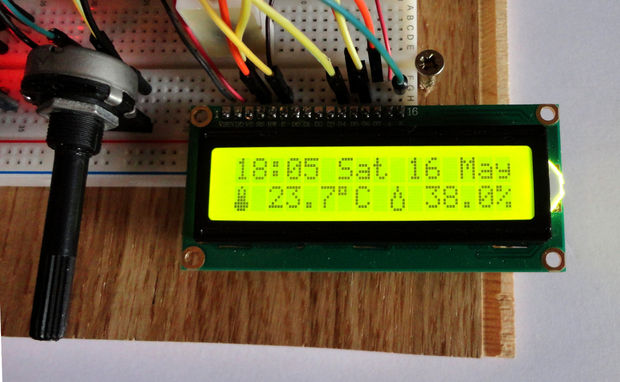
These 7 steps will drive you through the “construction” of a thermo-hygrometer with clock on Arduino UNO.
Data and time, humidity and temperature will be shown on a LCD 16×2 display .If you have purchased a LCD display and want to know how to properly solder a pin header to it, take a look at our tutorial “Yet another tutorial on how to solder”.
Each step of this tutorial is independent from the others. So, if you are looking for an easy way to make your DS3231 work (for example) this tutorial is also suitable for you.
Thermohygrometer with clock and LCD display on Arduino UNO – [Link]
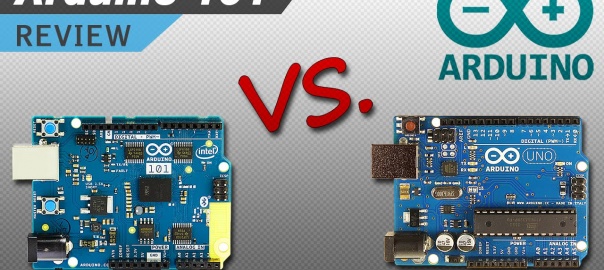
Arduino’s newest board, the Arduino 101 is finally here… It has an Intel Curie processor, and an on-board gyroscope, accelerometer, and Bluetooth. Let’s see how it stacks up to the Uno, and find out what each of the components on the board do. At the end of the video, I go through setting it up in the Arduino IDE and run a simple sketch.
The New Arduino 101 (Genuino 101) – Unboxing, Set Up, and Comparing it to the Arduino Uno – [Link]
Harvard University researchers have developed a low-cost flow battery that stores energy in organic molecules dissolved in neutral pH water. In their report (see below) they claim that the new battery can run for a decade or more without maintenance.
Flow battery can run for 10 years with zero maintenance – [Link]
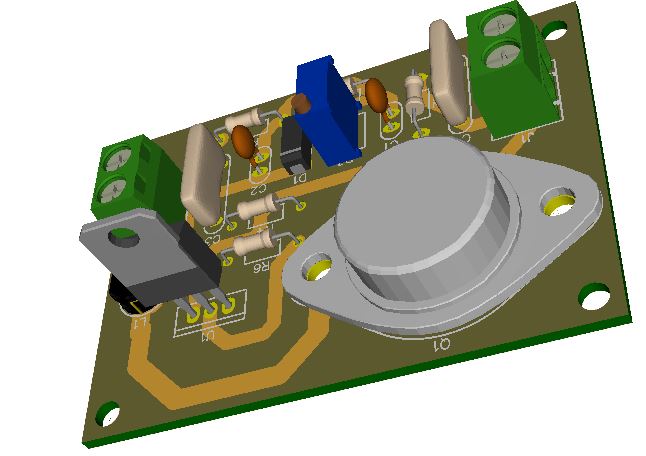
The circuit presented here is based on LM317. Generally, LM317 is known as a linear regulator IC, but here the circuit operates as a switching regulator. This circuit operates by transferring energy
from the input to the output by using a solid state switch. Power Efficiency of a switching regulator is much higher than the linear regulators. The input voltage for this circuit is 8V-35V and it can produce the output of 1.8V to 32V, that can be varied by using potentiometer R3.
Features
Input(V): 8VDC to 35VDC
Output(V): 1.8VDC to 32VDC
Output load: 3A
PCB:68mm X 50mm
1.2V-32V @3A Variable Switching Regulator using LM317 – [Link]
The ongoing miniaturisation of electronics is expected to reach its limits in the near future. One of the limitations is the size of electrons that are needed in electronic circuits to transport charge from one place to the other, what we usually call ‘current’. To work around this problem a team of scientists from Munich and Kyoto proposes a way to make current “better”, by using the electron’s spin instead of its charge. Enter spin electronics.
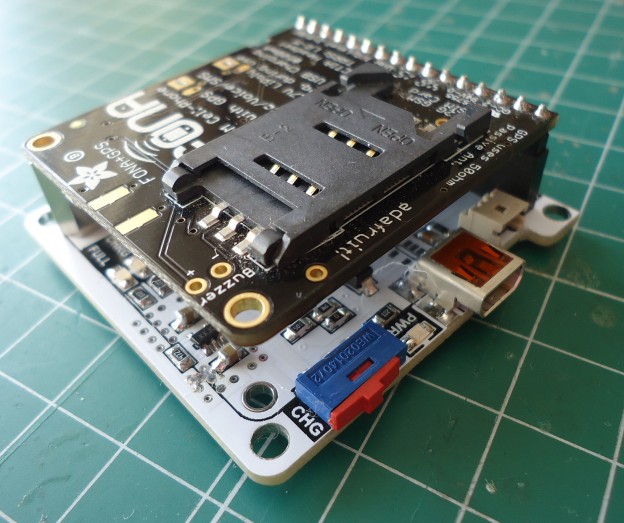
Jesus @ jechavarria.com tipped us with his latest project. He writes:
For several months I’m working with FONA808 modules from Adafruit to make a portable, web-based locating system. This modules are based on the SIM808 module from SIMCOM manufacturer, and integrates both GSM and GPS transceivers in one 24x24mm package. The Adafruit board includes this module and also some electronics for choosing voltage levels, battery connection and charger. Because I need to test and programming some of this modules, I decide to make an specific PCB for it, allowing the programming and debugging via PC, wich is more comfortable that use a microcontroller for all these tasks.
Car hacking applications have been growing during the last few years, making it faster and cheaper to get into automotive tinkering. A new device was launched recently on kickstarter called M2 by Macchina.
M2 is an open-source, versatile development platform which can be wired under the hood for a more permanent installation or plugged into the OBD2 port, enabling you to do virtually anything with your vehicle’s software.
It is a tiny device (56.4mm x 40.6mm x 15.7mm) that is compact, modular, wirelessly connectable, and based on the popular Arduino Due. It consists of a processor board with a SAM3X8E Cortex-M3 MCU, a USB port, some LEDs, an SD card slot, and built-in EEPROM, as well as an interface board with two channels of CAN, two channels of LIN/K-LINE, a J1850 VPW/PWM, and even a single-wire (GMLAN) interface.
M2 is universal as its libraries and protocols are compatible with any car that isn’t older than Google. Macchina also aims to make the M2 compatible with as many existing open source software packages as possible.It is already compatible with SavvyCAN, CanCAT, MetaSploit, and CANtact.
Working with M2 is easy for Arduino users. Here is a summary of the steps needed to duplicate our shift light project on a CANbus-equipped manual transmission car that also illustrates the basic workflow when car hacking with M2:
Step 1: Download the latest Arduino IDE and install the Macchina boards add-on; test everything is working by blinking an LED.
Step 2: Download and install one of several open source “Sniffer” applications to your computer and upload the corresponding “sketch” to M2.
Step 3: Use the “Sniffer” application to identify the piece of data you are looking to use. In this case, engine RPM
Step 4: Write a “Sketch” to watch for RPM data and light up some LEDs proportionally and flash when it is time to shift.
You can also check this video to see an example of simple car hacking:
Macchina has partnered with Arduino, Digi and Digi-Key to develop M2, and it believes that its highly-adaptable hardware will most benefit hot rodders, mechanics, students, security researchers, and entrepreneurs by providing them access to the inner workings of their rides.
As it is an open source project, you can get its 3D files, schematics, BOM, and source files on the github repository. M2 will be available for $79 and it may cost about $110 if you build it yourself. Visit Macchina’s Kickstarter page to learn more or pre-order yours today. You can also check out Hackaday’s review about M2.