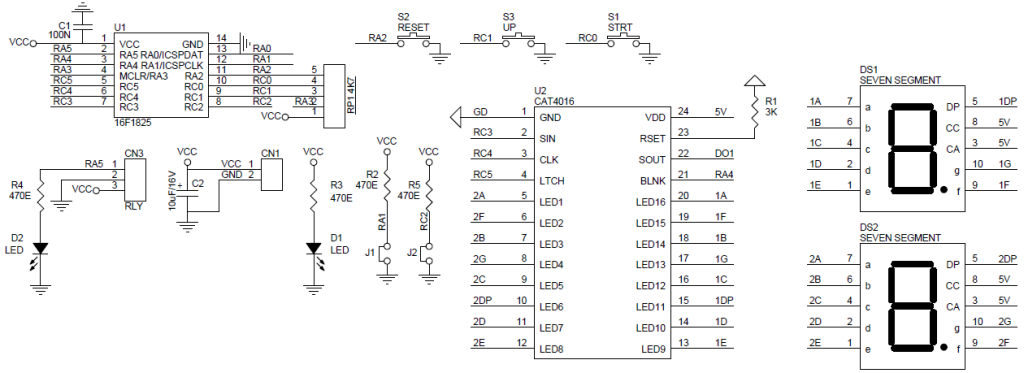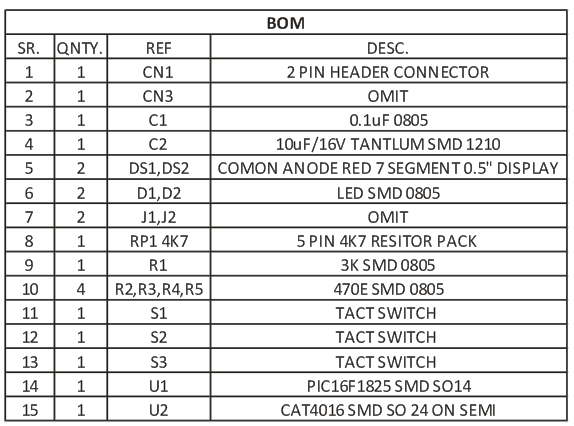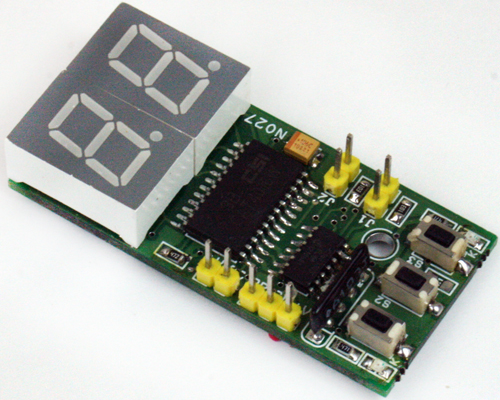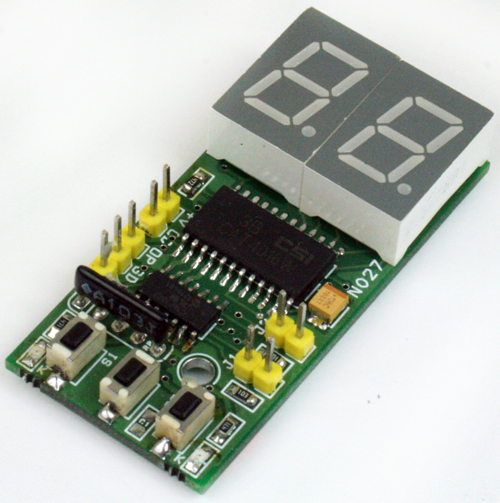
The Two Digit UP Counter project built using PIC16F1825 Microcontroller from Microchip, CAT4016 serial to display driver IC from ON-Semiconductor and two 7 Segment common anode 0.5 Inch display. Project works using two switches S3 and S2, third switch has no use. When switch S3 is pressed it increments the count on display by one and S2 provides the reset function, This little handy project consumes low current and can be work with 4.5 V battery, intensity of the display can be change by replacing value of R1, read Cat4016 data sheet for more information about current setting. Display range 00 to 99. This project can be used in various applications like product counter, score board, object counter, vehicle counter.
Features
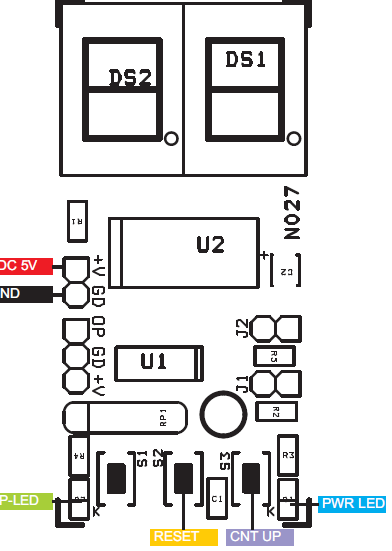
- Supply 4.5 to 5V DC
- Range 00 to 99
- On Board Two Switches for UP count and Reset
- On Board Power LED and Count Up LED
2 Digit Digital Up Counter Using PIC16F1825 – [Link]