

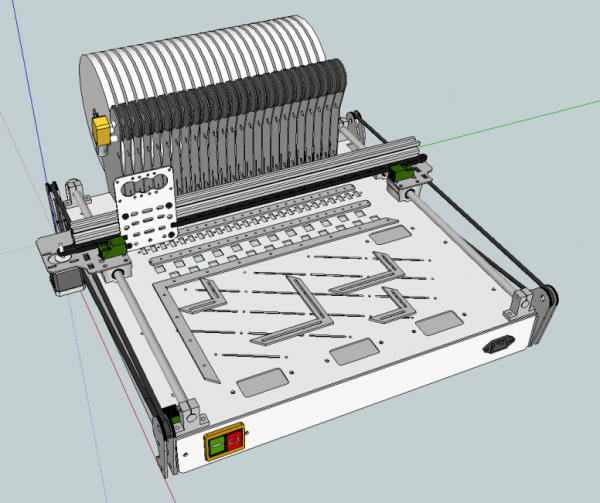
Peter van der Walt @ OpenHardware.co.za has published his newest machine design – an open source pick and place machine.
Open Source Pick and Place Machine – [Link]
Peter van der Walt @ OpenHardware.co.za has published his newest machine design – an open source pick and place machine.
Open Source Pick and Place Machine – [Link]
Near Field RF probes can be very helpful when tracking down sources of unwanted RF emissions or radiation. This video presents the basics of the E-Field and H-Field probes, how they work, and how to use them.
Basics of Near Field RF Probes – [Link]

Engineers at the University of California are focusing on measuring Sodium, Potassium, Glucose, Lactate in an attempt to measure an individual’s health. The team have developed a prototype that comprises a flexible printed circuit board holding five sensors.
A new device is able to calibrate the data based on skin temperature and transmit the information wirelessly in real time to a smartphone. The results of a new study of the wearable technology have been published in the journal Nature.
Wearable sensors analyze your sweat – [Link]
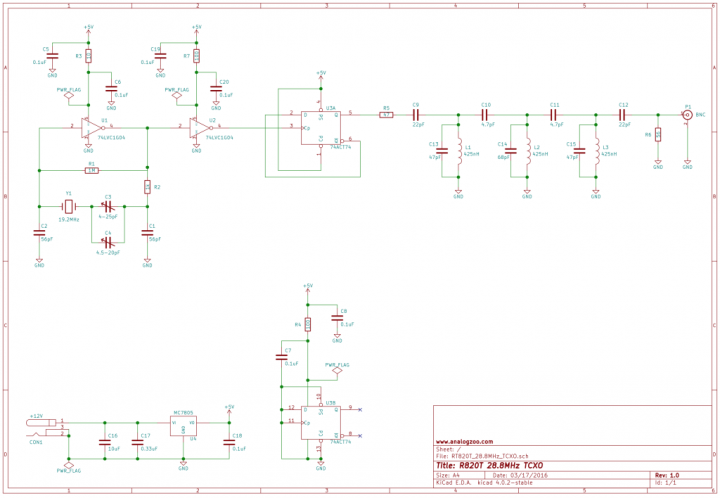
Craig document his process of building a Better RTL-SDR TCXO with +-1ppm stability over 0C-55C range.
Its hard to beat the cost and versatility of the ubiquitous RTL-SDR dongles, but the temperature stability of their reference oscillators isn’t sufficient for some applications. While the internal 28.8MHz quartz crystal in these units can be replaced by a high quality temperature compensated oscillator, these tend to be relatively expensive and/or difficult to source.
28.8MHz TCXO with +-1ppm Stability – [Link]
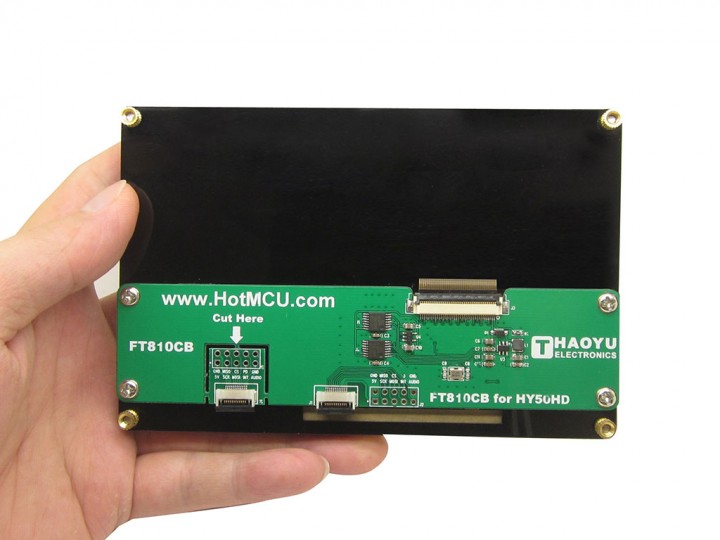
Ken Boak discuss how to build a graphic user interface using cheap TFT toughscreen displays. This article is about using their lowcost graphics co-processor IC to provide a neat user interface for any low-end microcontroller.
These days, when you can buy a 7″ tablet for $50, there is all the more reason for makers and hackers to want to become more engaged with up to the minute 7″ touchscreen technology for their latest projects. Fortunately, recent developments in hardware have made this both affordable and easy to do – to the point where no project is too small, not have a neat touchscreen interface – and sound too!
Using Low Cost Hardware to Enhance the User Experience – [Link]
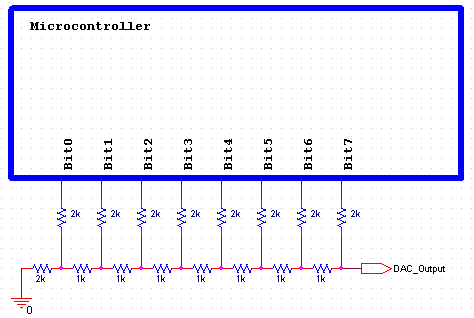
Maurizio show us how to generate an analog voltage using a microcontroller and some resistors.
The purpose of this article is how to generate analog voltage with digital circuit. Although the market provides today a very broad range of dedicated digital-to-analogue converters, putting such a device in the schematic has a negative impact on the overall cost of the system. There are however, cheap methods of creating the required voltage levels, and even of generating pseudo-analogue signals, using purely digital means.
Generating Analog Voltage with Digital Circuit – [Link]
In this video educ8s.tv show us how to make Arduino power off itself with the help of a simple circuit!
If you have watched some of my previous videos you will know that I like my projects to have minimal power consumption so that we can use them with batteries for a long period of time. One of the biggest disadvantages of the Arduino boards is that they need a lot of current even when in idle state. This Arduino Uno board for example needs about 40mA when idle and about 20mA if we put the Atmega chip to sleep. That’s a lot of power, so, it will deplete any battery in a few days. So, I wanted a circuit that will let Arduino to turn off itself instead of putting it to sleep in order to conserve power. After a lot of experimentation and googling I finished a first basic version of this circuit. Let’s see it action.
Arduino Auto Power off. Make Arduino power off itself! – [Link]
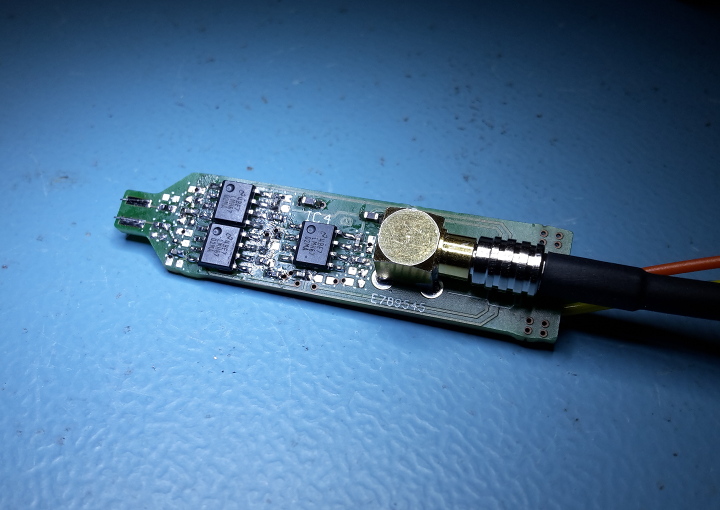
Christer wanted to see how a 500MHz differential clock was behaving so he decided to build an active probe. To simulate the circuit he used TINA spice software and documented the process in three parts on his website.
What I really wanted was an active differential probe which should be able to look at a 500MHz signal at a couple of volts or so with decent fidelity. To do that I wanted a probe with about one GHz of usable bandwidth. I have an old Tektronix 11801B scope with two 20 GHz sampling heads with 50Ω single ended inputs that can handle signals which are 1.0V peak-to-peak so that’s what I wanted the probe output to be compatible with. The probe must attenuate the signal so to not overdrive the inputs and to make things easy to calculate I decided on letting the probe have a 1:10 attenuation.
An almost-GHz active differential oscilloscope probe – [Link]
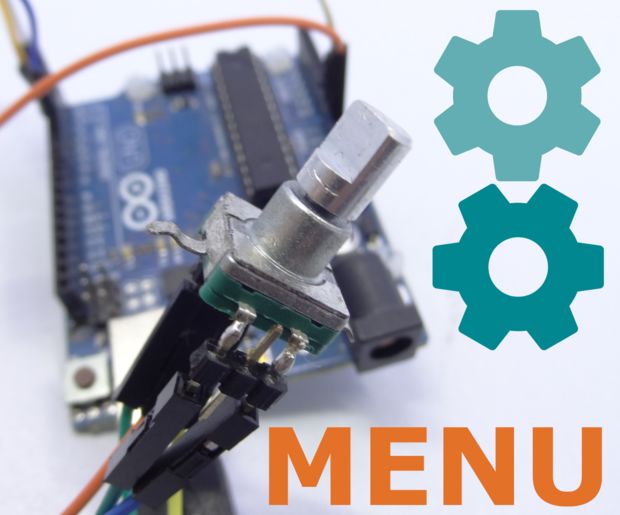
SimonM83 has posted a new tutorial on how to implement an Arduino menu using a rotary encoder. The tutorial goes through the hardware setup and sample code is provided.
Rotary encoders with centre-push buttons are cool input hardware for projects, especially if you want to be able to scroll through menus and select options. Hopefully this Instructable will give you the confidence to try a basic menu system out and combine it with a rotary encoder to give a professional feel to your next project!
Easy Arduino Menus for Rotary Encoders – [Link]
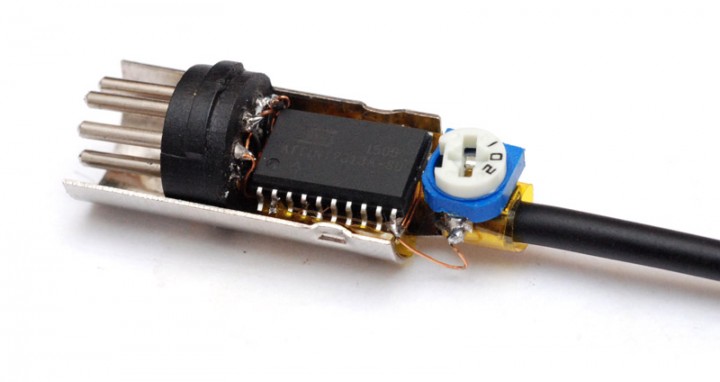
Polyphonic MIDI Synth on an ATtiny2313:
This is the fourth synthesizer cable I’ve built, the first three being based on the ATtiny85. I have been looking into ARM chips but haven’t gotten to grips with them just yet. Instead, I decided go back to the ATtiny2313, which has a quarter of the memories of the tiny85, but a hardware UART port and more pins.
Polyphonic Synth Cable – [Link]


