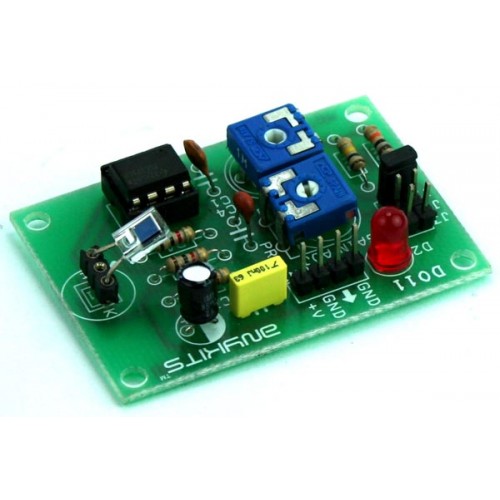
LUX Meter project has been design to measure the illumination. Illumination is luminous flux falling on surface area of photo diode. This illumination converted to corresponding voltage using Op-Amp circuit.
Specifications
Supply 9 VDC PP3 Battery @ 20 mA
Onboard Photo Diode
Onboard preset for calibration
Range selection via jumper 10mV/LUX, 1mV/LUX, 0.1mV/LUX
Interfacing is via berg connector
Power-On LED indicator
Four mounting holes of 3.2 mm each
PCB dimensions 53 mm x 38 mm
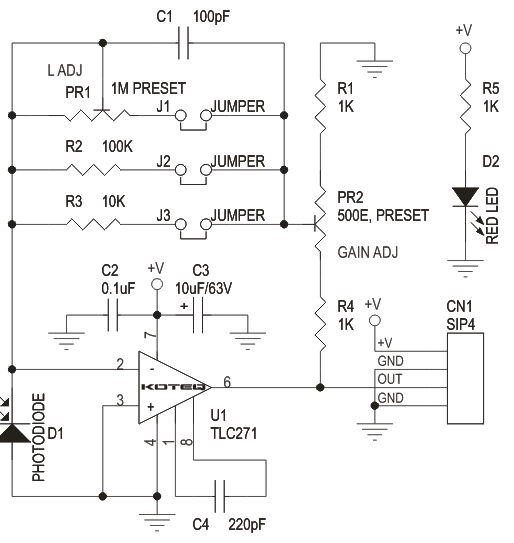
The project is designed around Texas instrument Op-Amp TLC271 which can operate from single supply with low bias current, here op-amp act as current to voltage converter. 5000 LUX (approx) can be measure with a voltmeter having 5V range. Meter is not provided.
Calibration
J1 Jumper : 10mV/Lux
J2 Jumper : 1mV/Lux
J3 Jumper : 0.1mV/LUX
PR2 Preset : To Calibrate the meter
PR1 Preset : Fine Gain adjustment for 10mV/Lux
CN1 Connector : Supply 9 VDC (PP3 9V DC Battery Ideal) and Output Voltage
D2 LED : Power Indicator
D1 LED : Photo Diode (Sensor)
Standard incandescent 100W lamp should be used for approximation calibration. To make Calibration select the 1mV/Lux J2 Jumper, move the preset full in CCW. Connect the accurate voltmeter having range of 5V. Adjust the distance between the photo diode and Lamp so that voltmeter reads 0.38V0. At this point, illumination on photodiode surface is about 100 Lux (aprox). And then adjust the PR2 so that voltmeter reads 1V. Calibration has now been complete. This project is based on Hamamatsu Photo Diode Application
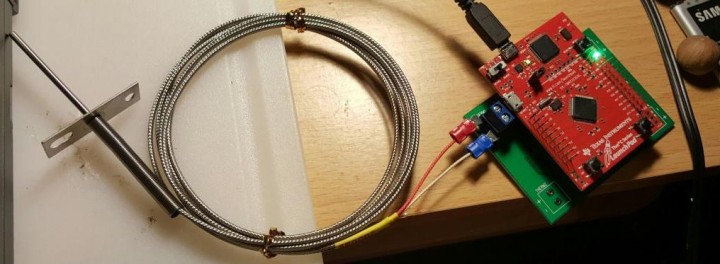
Spirilis @ 43oh.com forum would like to monitor his woodstove temperature profiles so he build a plugin board for LaunchPad using the MAX31855 thermocouple to digital converter.
This BoosterPack is fancied as a baseboard plugging underneath the LaunchPad, with four holes for mounting studs in case I ever decide to fix it inside a permanent enclosure (probably one made of aluminum due to the heat). I could have pushed the Thermocouple terminal blocks out a little further to fit more launchpads, as I feel this is a bit tight. I chose a Tiva-C LP for my pics because it fits nicely but the BoosterPack is designed with low-power features, contrary to the MAX31855’s own design.
Monitoring Woodstove Temperature With A MAX31855 Quad Thermocouple BoosterPack – [Link]
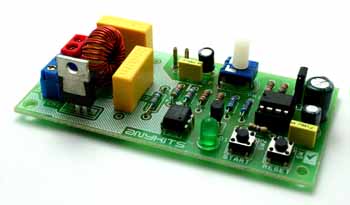
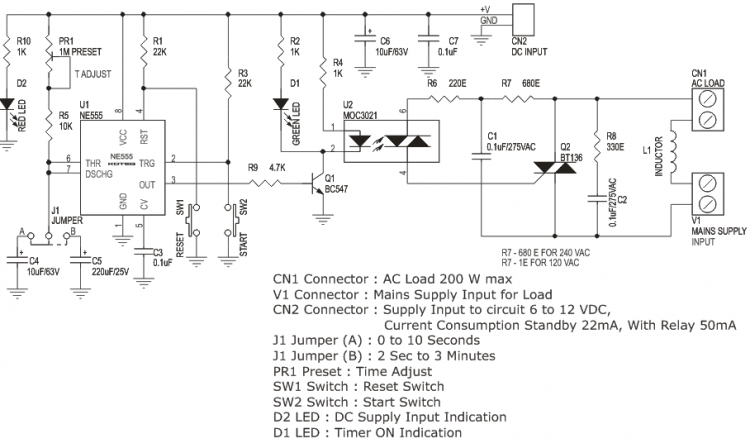
Classic AC 230 V Timer project can be used in all application requiring a timer of up-to 3 Minutes to operate or control any AC mains load of up-to 200 Watts. This project is based on the Classic 555 Timer IC, triggering a TRIAC. Input and Output is Optically Isolated.
Specifications
Supply input 12 VDC
Mains supply input 240 VAC or 120 VAC ( Read Note for 120V/230V AC)
Output: up-to 200 Watt
Optically isolated Input / Output
Onboard start and reset tactile switch
Timer On LED
Preset adjustable and jumper selectable for range
Power-On LED indicator
Screw terminal connector for easy mains supply input and load connection
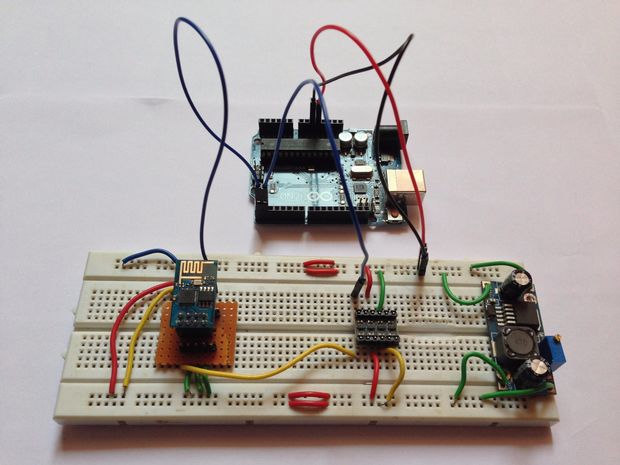
Subhan95 @ instructables.com has written a tutorial on how to use ESP8266 with Arduino and tweet using it.
What can the ESP8266 do?It is limited by your imagination.I have seen projects and tutorials on the internet showing how to fetch a city’s temperature, stock prices,sending and receiving emails ,making phone calls and much much more.I will show in this Instructable how to send a tweet.
Guide to ESP8266 and Tweeting Using ESP8266 – [Link]
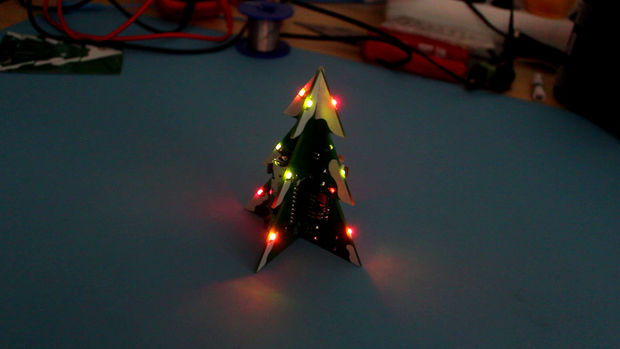
Well, Christmas may over but we think you may take a look at this well designed PCB Christmas tree and why not consider building it for the next year.
Since I already have an Arduino, and I felt pretty comfortable with it, I decided to use it to control the LEDs. However a full Arduino is way too bulky for such a thing (also too expensive), so I decided to try my luck with something more integrated: a standalone ATMega328P chip directly soldered on the Christmas tree.
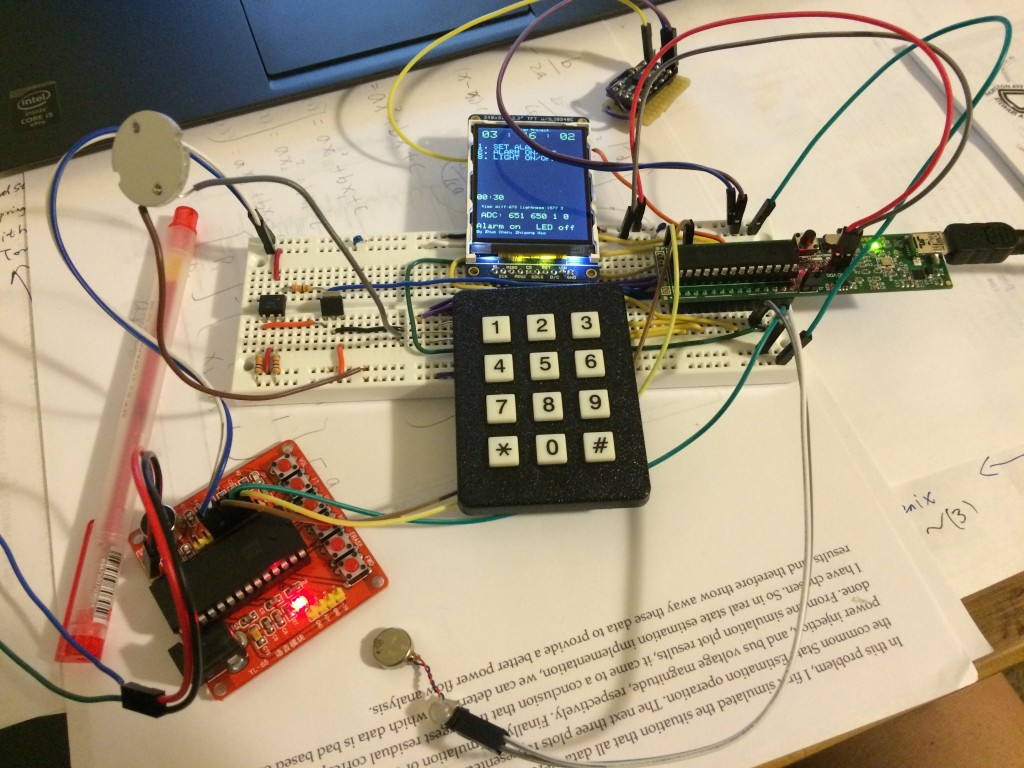
Zhiyong Hao and Zhuo Chen from Cornell Univercity build A PIC-based Alarm clock system that is different from most alarm clocks known.
This project is aimed to design a ‘Sleep and Wake-up Assistant’. Different from a normal alarm clocks which can only make noise, this alarm clock is designed to wake up a person in a comfortable and effective way by involving sound, light stimulation, motion detection and vibration. The functions of this alarm system are:
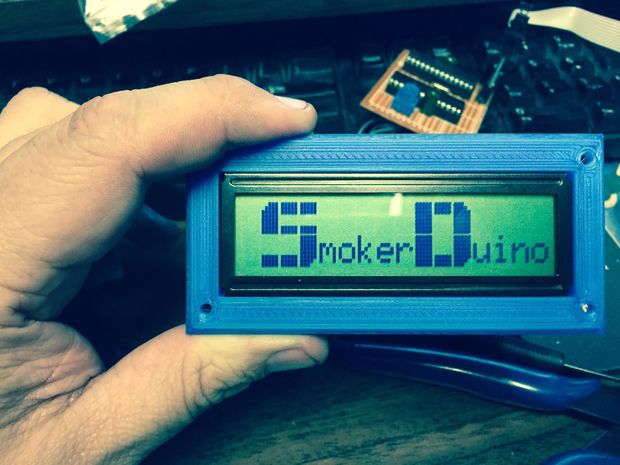
rjkorn @ instructables.com shows us his Arduino Smoker Controller:
I had made a Sous Vide controller and thought it might work well for my smoker too. All I really had to do was change the sensor form a Dallas 18B20 to a thermocouple. The Dallas sensor tops out at about 250 degrees Fahrenheit. This particular smoker is electric but the controller will work on charcoal fired ones too. You just use the relay to run a fan and motorized damper instead of the heating element.
The Signal Path Blog published another video reviewing FLIR MR160 Thermal Imaging & Moisture Meter:
In this episode Shahriar takes a close look at the FLIR MR160 Thermal Imaging and Moisture Meter. Featuring Infrared Guided Measurement (IGM) technology powered by a FLIR Lepton® thermal imaging sensor, MR160 helps you quickly see temperature patterns that point to potential hidden moisture so you know right where to place the meter probe to capture accurate readings.
After an overview of the camera functions a full teardown of the instrument is presented. The FLIR MR160 is based on a single PIC32 processor with built-in capacitance measurement capability. The MR160 is then used to detect a moisture spot on a floor tiling. The presence of moisture is then verified with both the pin-less and pin-based moisture measurement capability of the MR160. Finally, the MR160 is also used to measure temperature variation across a bank of resistors.
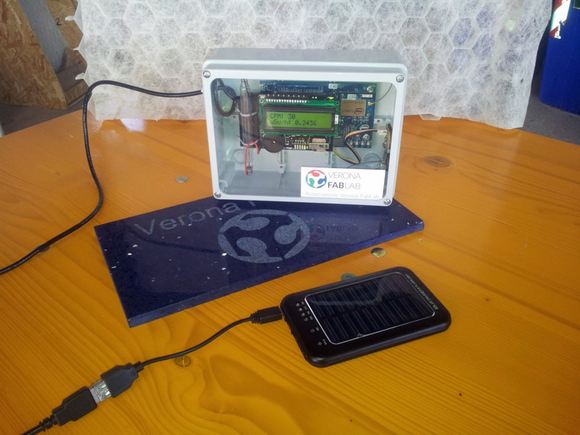
Geiger Backpack is a device that measures ambient radioactivity and GPS position and saves them on a cloud database using your smartphone as a WiFi hotspot.
Our project is a portable device powered by an Intel Edison and equipped with a GPS receiver and a Geiger Tube, a sensor able to detect radioactivity.
Our device continuosly measures ambient radioactivity and GPS position and saves them on a cloud database using your smartphone as a WiFi hotspot.
You can turn on your device, put it inside you backpack (here’s the origin of the name), pick up you bike and ride all around you town. When you’re back at home you can view a heatmap of radioactivity level you encountered during your ride.