XLR8: Arduino-compatible FPGA-based Application Accelerator

XLR8

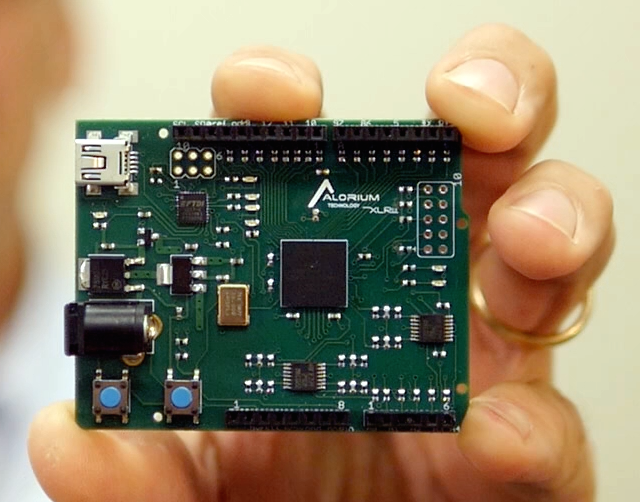
XLR8 has both an ATmega328 clone and custom accelerator blocks on an FPGA and uses the standard Arduino IDE for programming.

XLR8 is a drop-in replacement for an Arduino Uno, but with a twist. It is an Arduino-compatible board that uses a Field-Programmable Gate Array (FPGA) as the main processing chip.

The FPGA provides a reconfigurable hardware platform that hosts a clone of an ATmega328 microcontroller. The FPGA also provides the ability to implement custom logic that accelerates specific functionality known to be slow or otherwise problematic for the standard 8-bit ATmega328 microcontroller.

The FPGA-based hardware acceleration and offload provided by XLR8 results in significantly improved performance in the same physical footprint and using the same tool chain as standard Arduino Uno boards.

XLR8: Arduino-compatible FPGA-based Application Accelerator – [Link]

AVR Programmer Shield

F9HXII0IH3T87N2.MEDIUM

ohneschuh @ instructables.com has build a Arduino Shield that is able to program spare ATmega328 and ATtiny85 mcu using the ISP sketch.

Beside my Arduino instructables I also use pure ATmega328 and ATtiny85 microcontrollers. To program them I normally used a breadboard and the ArduinoISP setup with an Arduino UNO or NANO. But this was not the best solution.

So I build this programmer shield in my typical stripboard layout: Only straight lines – no crossings!

AVR Programmer Shield – [Link]AVR

HacKeyboard – open hardware mechanical keyboard

FNZ22CBIGV4DBWG.LARGE

msaleiro @ instructables.com tipped us about his latest build. This is an open source mechanical keyboard he has been working for the last 2 years. It may looks like an ordinary keyboard but it has many features embedded. To check them follow the link below. He writes:

It looks like a computer keyboard, and it is, but not an ordinary one. It’s story and hidden functions add a lot more to it. “Under the hood” you’ll find that this keyboard has:

SMK Alps Mount switches
Compact size
Special commands to record up to 12 macros

Internal keylogger

Internal USB Hub

and many more.

HacKeyboard – open hardware mechanical keyboard – [Link]

ESP8266 – 5$ internet connected switch

FYB89BIIGV4G950.LARGE

EasyIoT @ instructables.com shows us how to build an Internet connected switch using ESP8266 Wifi module and EasyIoT Cloud service.

In this tutorial we will show how to build WiFi internet connected switch connected to EasyIoT Cloud. We will use ESP8266, solid state relay and Arduino IDE. Switch can be controlled by WEB application, native Android application or button.

This internet switch is “plug and play” – it will automatically set all EasyIoT Cloud settings, so no configuration in EasyIoT Cloud is needed.

ESP8266 – 5$ internet connected switch  – [Link]

Save space on your PCB with TRACOPOWER!

obr1782_uvod

TMLM family of 4-20W AC/DC power supply is the right solution on most important requirements – constraint space, high efficiency and cost saving.

Every square inch of your PCB costs money. It is a fact, and if you can reduce your PCB´s area, you actually save money. Moreover if you use a high efficiency power supply you save energy.The TMLM Series switching power supplies, offer highest power density in a fully encapsulated module which can be soldered directly on to PCBs. This feature makes these modules an ideal solution for all space critical applications in commercial and industrial electronic equipment. International safety approvals qualify the product for worldwide markets. SMD-technology and high efficiency guarantees a high reliability of these Power Supplies.

Save space on your PCB with TRACOPOWER! – [Link]

Build a Simple Toaster Oven Temperature Profile Controller

article__html_m16d2111d

Maurizio @ dev.emcelettronica.com has tipped us about his latest project. In this article he discuss how to build a simple toaster oven temperature profile controller using StickOS and CPUStick. This is the first part of the article.

Using a highly-integrated microcontroller running “StickOS BASIC”, it is possible to quickly build a toaster oven temperature profile controller for performing surface mount (SMT) printed circuit board reflow soldering at home. It is also possible to program a large variety of other general-purpose embedded system projects with minimal software effort, using only a terminal emulator and high-level BASIC algorithmic statements to manipulate the microcontroller (MCU) pins and peripherals.

Build a Simple Toaster Oven Temperature Profile Controller – [Part 1] [Part 2]

ESP8266 DIY Wifi Smoke Alarm Notifier

22114918954_23cf9717c9_k1-750x429

simpleiothings.com has build a Wifi connected smoke alarm using ESP8266 module:

This tutorial will teach you how to build a Wifi Smoke Alarm Notifier for about $10 dollars. You won’t have to code anything, and you won’t have to solder or buy expensive electronics equipment. Any services you are asked to use will be 100% free. Its that easy. Lets get started!

[..]

One of the reasons why IoT devices can be built so easily now is because of the ESP8266 development board. IoT enthusiasts have been excited about the ESP8266 because its a full system on a chip (SoC) that has onboard wifi connectivity that can cost as low as 3 dollars.

ESP8266 DIY Wifi Smoke Alarm Notifier – [Link]

Single Regulator contains buck and boost controllers

7812

Linear Technology Corporation introduces the LTC7812, a dual output (boost + buck), low quiescent current synchronous DC/DC controller. When cascaded, its independent step-up (boost) and step-down (buck) controllers regulate the output voltage from an input voltage that can be above, below or equal to the output voltage, maintaining output regulation during cold crank and load dump conditions. Unlike conventional single inductor buck-boost regulators, the LTC7812’s cascaded boost + buck solution provides fast transient response with continuous, non-pulsating, input and output currents, substantially reducing ripple voltage and electromagnetic interference (EMI), making it ideal for automotive, industrial and high power battery operated systems.

Single Regulator contains buck and boost controllers – [Link]

Bluetooth enabled Door locker using Arduino

arduino-locker

Frank Donald @ gadgetronicx.com has build a bluetooth controlled door locker using Arduino. Source code included:

DIY Arduino based lockers can be found plenty in the internet where keypad was used to feed lock input. But this Bluetooth enabled Door locker uses Bluetooth as a medium to connect with the locker and your smart phone to feed input credentials. This locker allows you to lock/unlock your locker without physical touch when you are within the range of Bluetooth communication.

Bluetooth enabled Door locker using Arduino – [Link]

Component Tester FISH 8840 Review

Component_Tester_FISH8840_9494

Alan Parekh @ hackedgadgets.com has a review of a cheap component tested he found on ebay. This device can test bipolar transistors, MOSFET, diodes, thyristors, resistors and capacitors. He writes:

This is an inexpensive component tester called the FISH 8840 which you can find from many online eBay retailers for around $30. The interface is very simple, attach a device to be tested and press the test button. It turns off after about 20 seconds, pressing the off button puts it into sleep mode immediately. There is a ZIF socket that allows you to insert leaded devices and pads that allow you to press SMD devices directly onto the tester.

Component Tester FISH 8840 Review – [Link]

TOP PCB Companies