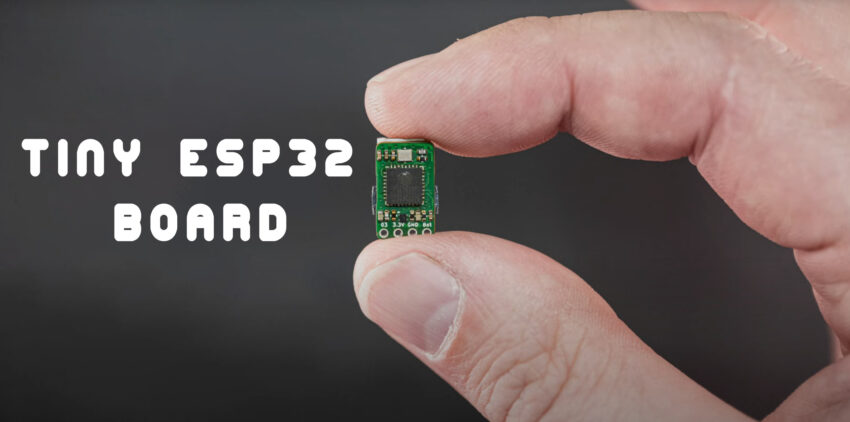
Paul Price’s ESP32 Dev Board is Just About the Tinyest ESP32 Dev Board Possible
Youtuber Paul Price has built what could be the smallest and most functional ESP32 DEV board possible. The board contains the ESP32-C3 SoC, a few passive components, and a USB connector for programming. Impressively, he could fit all that on the tip of his finger.
In his video, Paul shared how this project started as a challenge. He created the circuit board design during a live stream and it looked good, so he ordered the board. However, after assembling and soldering the PCBs, he realized there was a mistake in the design, which stopped the code from uploading to the board.
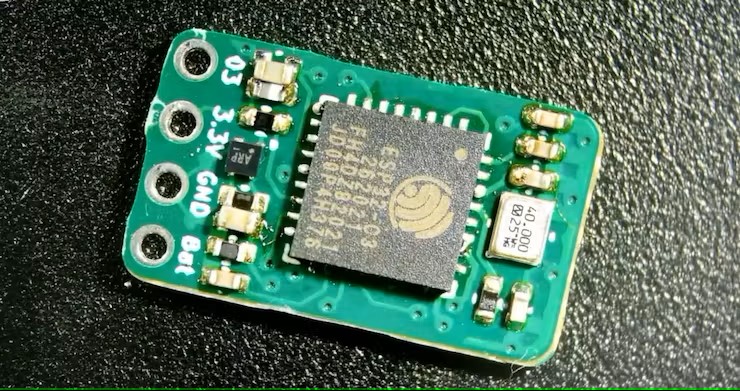
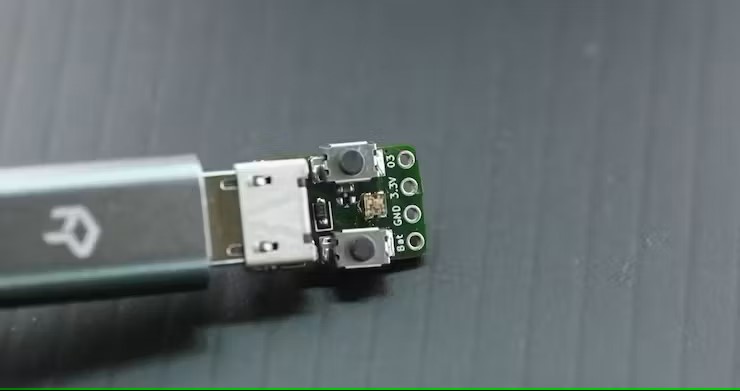
So, to rectify the mistakes, he made the REV2 of the board and decided to make the circuit board even smaller. This is how the Tiny ESP32 was created. The front side of the board has an ESP32-C3 chip and some other small parts. On the back, there are two buttons, a USB connector, and a RGB LED. For connecting other things, the board has ports for 3.3V, 5V, ground, and GPIO.
In his video, he talks about the challenges he faced and the compromises he had to make to make his idea a reality. It wasn’t easy, and he had to give up some features to make the board work. For instance, it has only one GPIO port f. It doesn’t have extra EEPROM for storage, and the biggest downside is that it doesn’t have an antenna for Wi-Fi or Bluetooth.
Price didn’t mention the size of the board, but after watching the video and livestream, I quickly realized the board could be made even smaller! How? He used an ESP32-C3 chip which doesn’t need a reset and boot button for programming. It has a DFU Mode, so it can be programmed directly with USB. Instead of those two buttons, he could have used a simple copper line as an antenna, like what CN-Lohr did with his homemade ESP8266 board a long time ago.
If you are asking how practical is this board? It all depends on your requirements. If you are trying to fit horsepower like ESP32-C3 in a small place, you can do that with this tiny ESP32 board.
At the end of the video, we learned that the Rev2 of the PCB also had some issues, and it was also not error-free. A minor mistake occurred when moving the RGB LED from the front of the board to the back. So, in this current revision, it needs to be fixed. But you can run an LED Blnk program with it.
You can see the short five-minute video that reviews the board. However, check out the live streams on the Paul’s Projects YouTube channel. There, you can see this board take (its small) shape.


