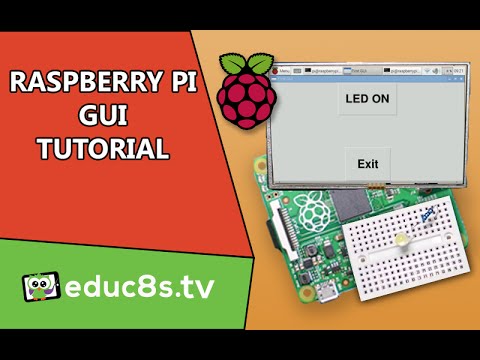
educ8s.tv shows us how to build a graphical user interface on Raspberry Pi using TkInter and Python.
Having a Graphical User Interface (GUI) on a touch screen makes controlling your Raspberry Pi so much easier. With Python and TkInter one can develop his own GUI very easily. In this video we are going to see how to achieve that.
The project we are building today is very simple but very useful. As you can see I am using an application that I have developed to turn on or off the LED simply by touching an on screen button. In this video we are going to see how to develop an application like this, and as you are going to find out, it is extremely easy!
The hardware setup of today’s project is this. I am using a Raspberry Pi A+ but you can use any Raspberry Pi you want that has 40 GPIO pins. I am also using a 5 Inch touch display from Waveshare. I have prepared a detailed tutorial on that display few weeks ago, you can check it out. If you don’t have a touch display, the Graphical User Interface we are developing will work fine with a mouse as well.
Raspberry Pi Tutorial: Create your own GUI with TkInter and Python – [Link]


