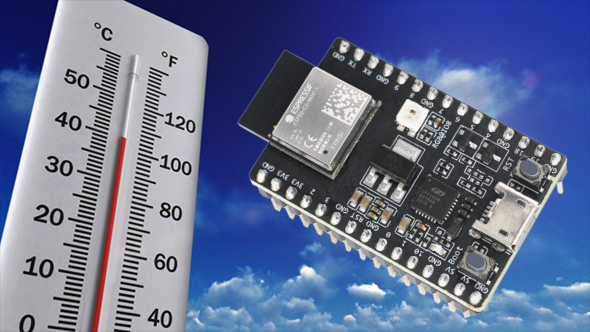
Espressif’s ESP32-C3-DevKitM-1 is extremely popular due to its many onboard features. The development board comes with an onboard Temperature Sensor, an Onboard RGB LED, ESP32-C3FN4 4 MB embedded flash memory, 384 KB ROM, 400 KB of SRAM, universal connectivity with Wi-Fi and Bluetooth and many more.
The ESP32-C3-DevKITM-1 features an onboard Temperature sensor. A temperature sensor basically generates a voltage that varies with temperature. Hence, the voltage is internally converted via an ADC into a digital value which is then scaled to standard units and displayed. This onboard temperature sensor has a range of –40 °C to 125 °C. Also, it is primarily for sensing the temperature change inside the chip.
In this article, we focus on programming of ESP32-C3 with ESP-IDF. You can go through the getting started article of ESP32-C3-DevKITM-1 if you are new to ESP-IDF environment. We use the in-built example provided with the ESP-IDF environment to program the sensor.
ESP-IDF or Espressif IOT Development Framework is the native software development framework for the ESP-32. It essentially contains all API (software libraries and source code) for ESP32 and required scripts to operate the Toolchain. ESP-IDF follows a Command Line Interface (CLI) approach to writing a program. You can learn more about ESP-IDF on Espressif’s official website.
Components for Temperature Sensing on ESP32-C3-DevKITM-1:
- ESP32-C3-DevKitM-1
- USB 2.0 cable (Standard-A to Micro-B)
- Windows PC
- ESP-IDF Software (master version)
The following is the procedure to build and flash the program for the ESP32C3 onboard temperature sensor to obtain and display the current out the temperature on IDF Monitor.
First, make sure that you have the latest version of the ESP-IDF with the latest API, libraries and toolchains installed on your computer.
Step1: Launch your ESP-IDF CMD Environment.
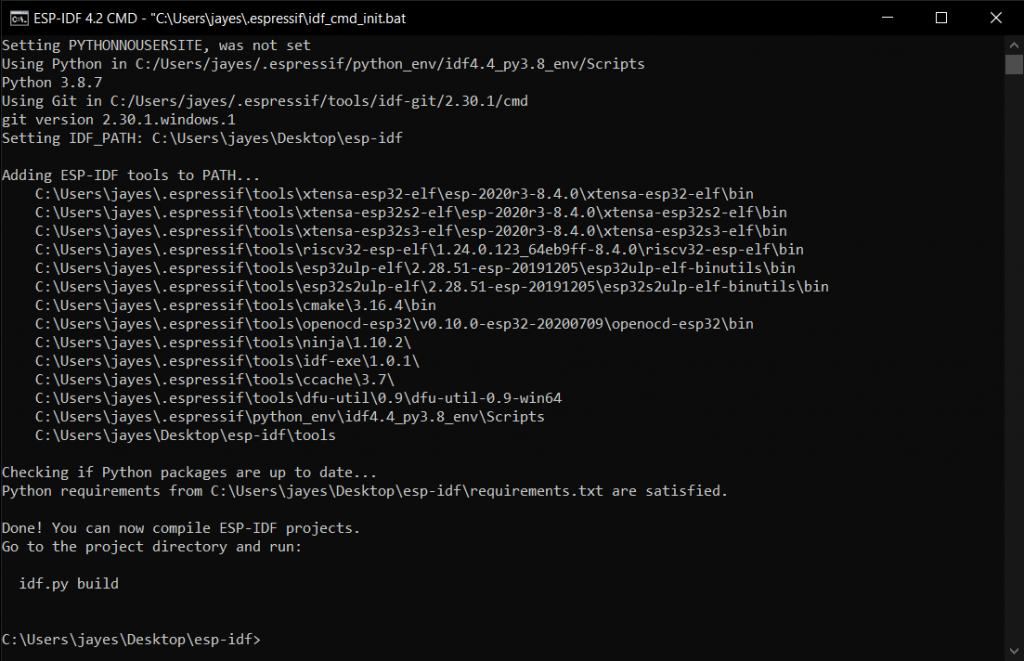
Step2: By default, you will be in the esp-idf home directory, change the directory by using the cd.. command.
Step3: Make a copy of the temp_sensor folder situated in the examples folder of esp-idf home directory in the current location using
xcopy /e /i %IDF_PATH%\examples\peripherals\temp_sensor tsensor command.
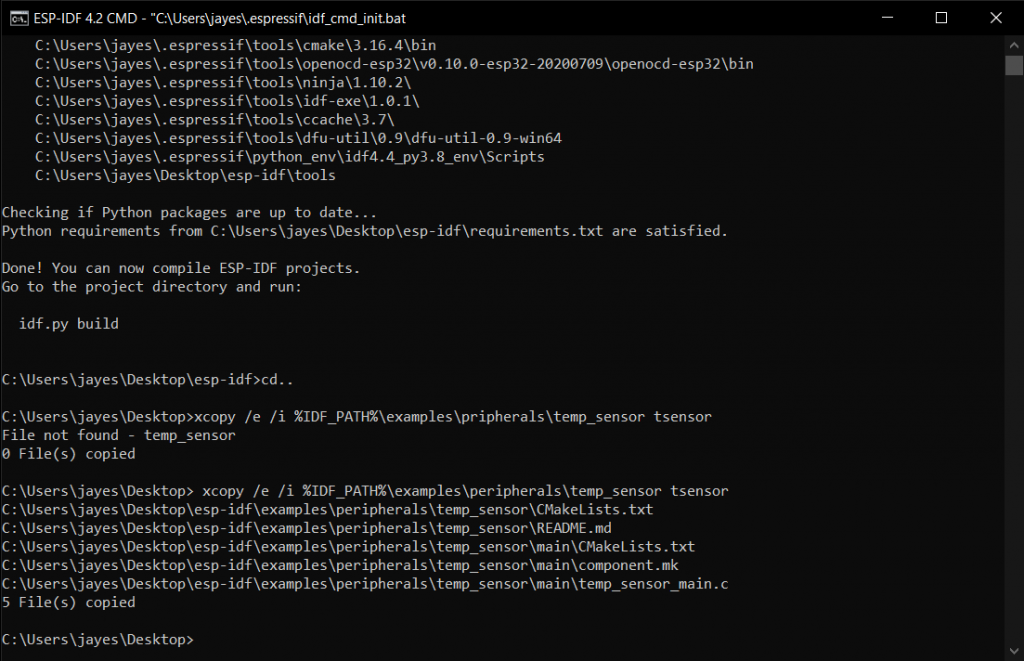
Step4: Switch to the newly created folder using cd tsensor command.
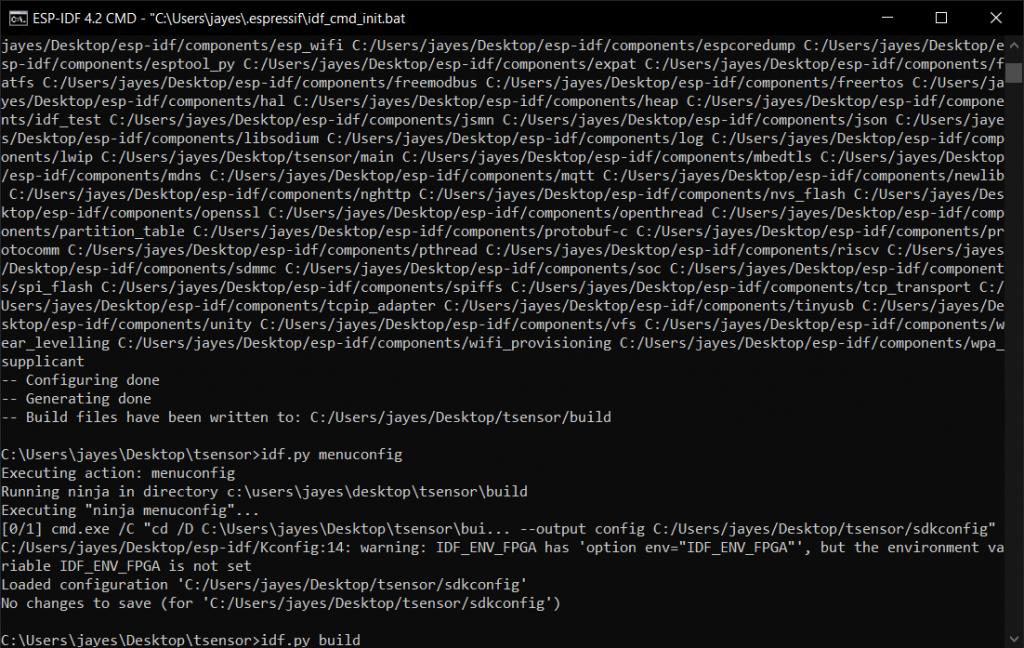
Step5: Build the program compatible with the board you have using idf.py set-target and idf.py menuconfig commands and then execute the idf.py build command.
Step6: Connect the board and flash the program using idf.py -p (PORT) flash. Enter the Port connection of your board. You can find this using the device manager on your PC.
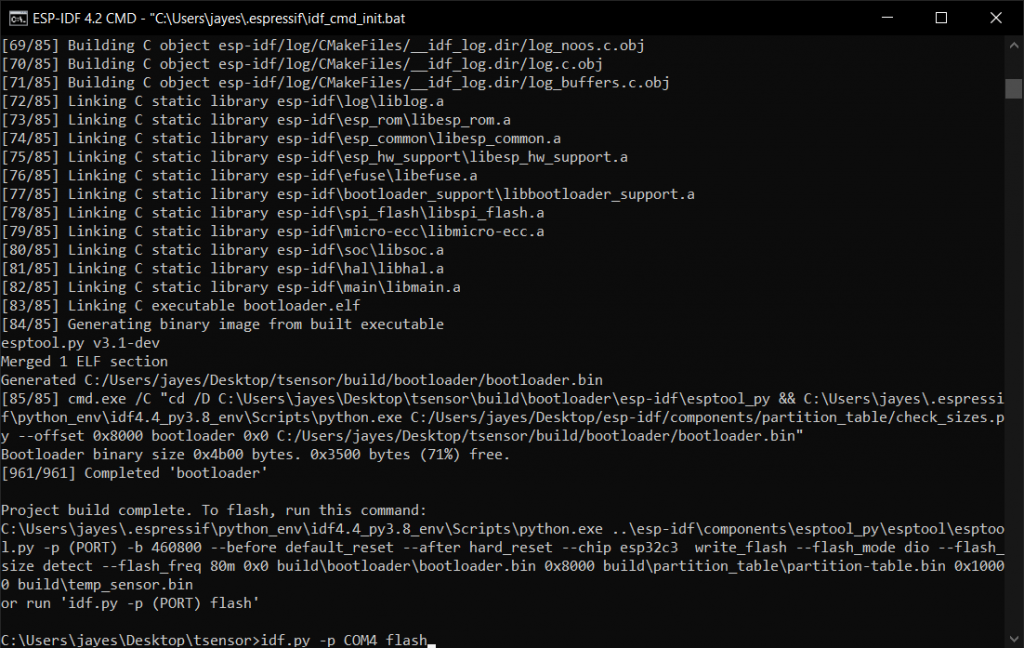
A Done message will appear indicating completion of flashing operation. The Idf.py monitor command gives the real-time status of temperature from the board.
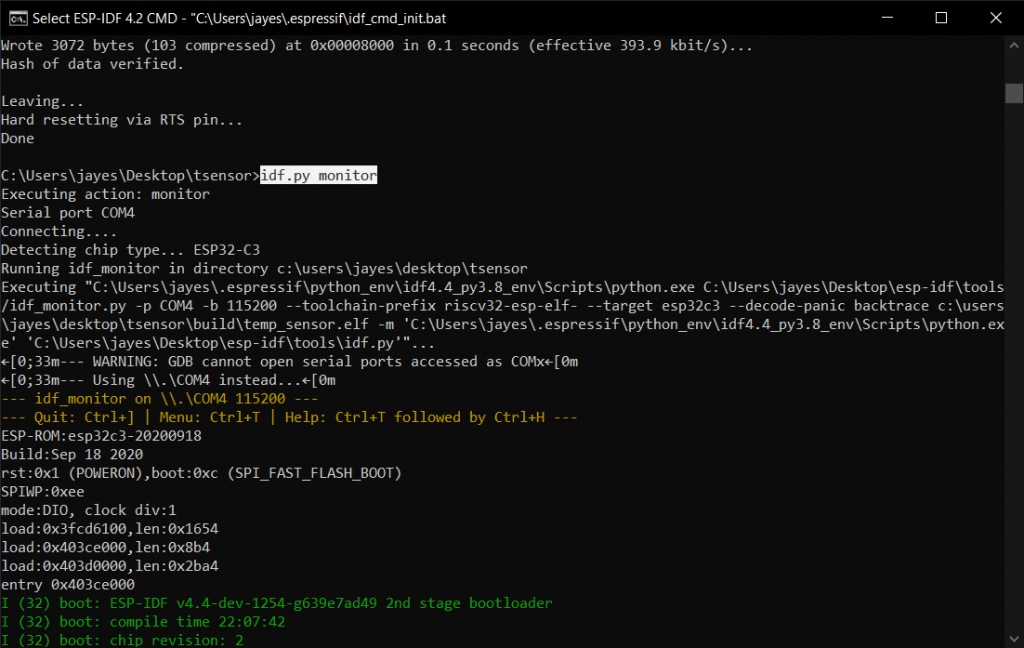
The following is the output result from the sensor on the IDF Monitor.
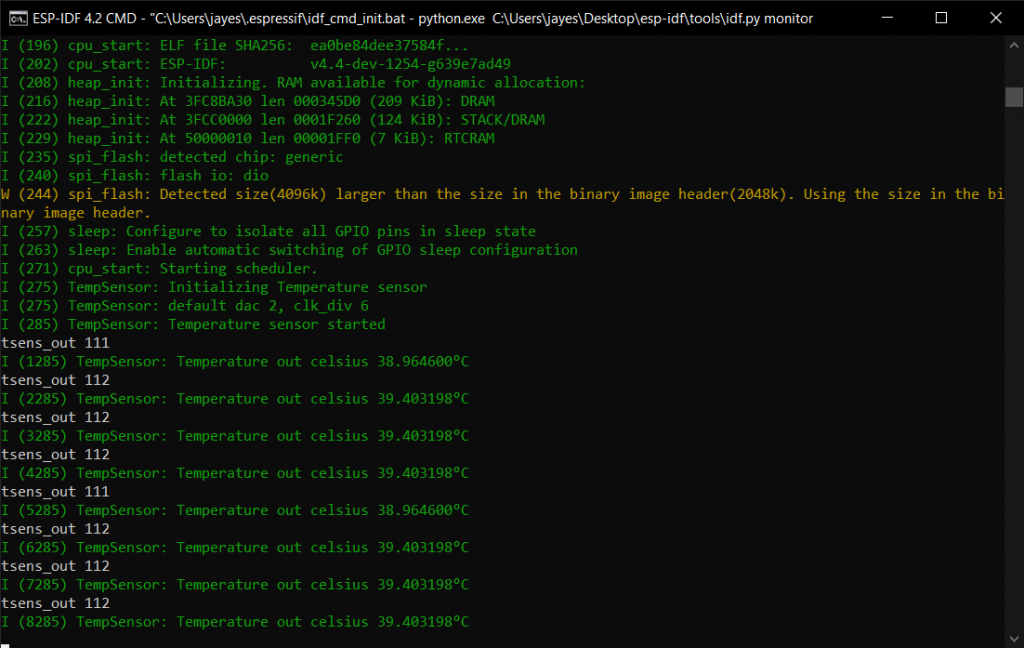
The temperature value depends on factors like microcontroller clock frequency or I/O load. Generally, the chip’s internal temperature is higher than the ambient temperature. You can also use this temperature sensor to monitor your ESP32 C3 board or as a supplementary data input to your project’s main code. For exploring more about the development, you can also program the development board on Arduino IDE as well. Check out this article for getting started with ESP32-C3-DevKITM-1 on Arduino IDE.


